
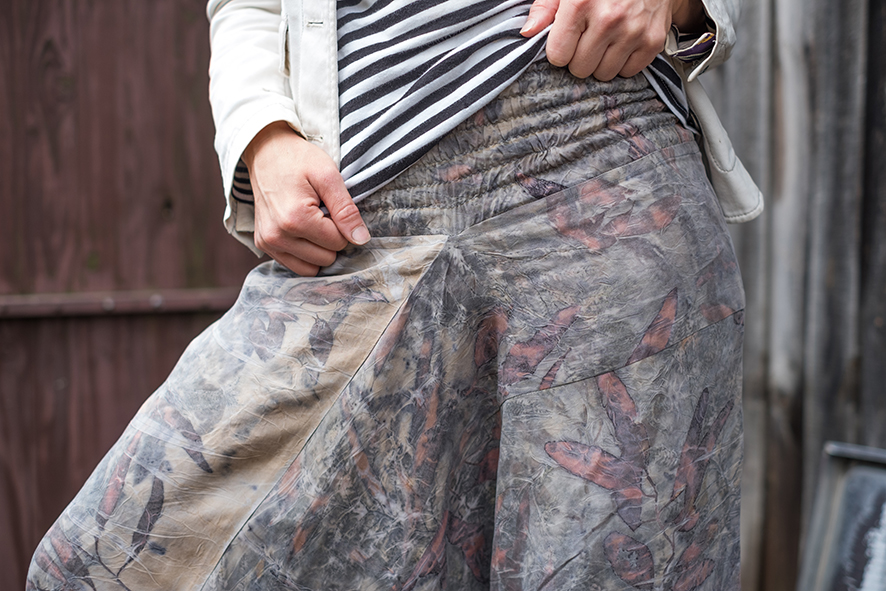
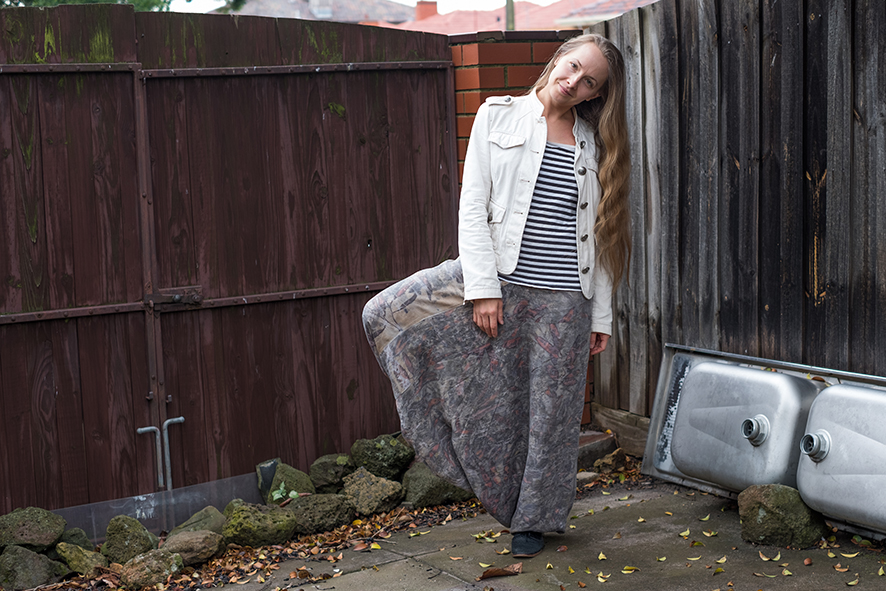
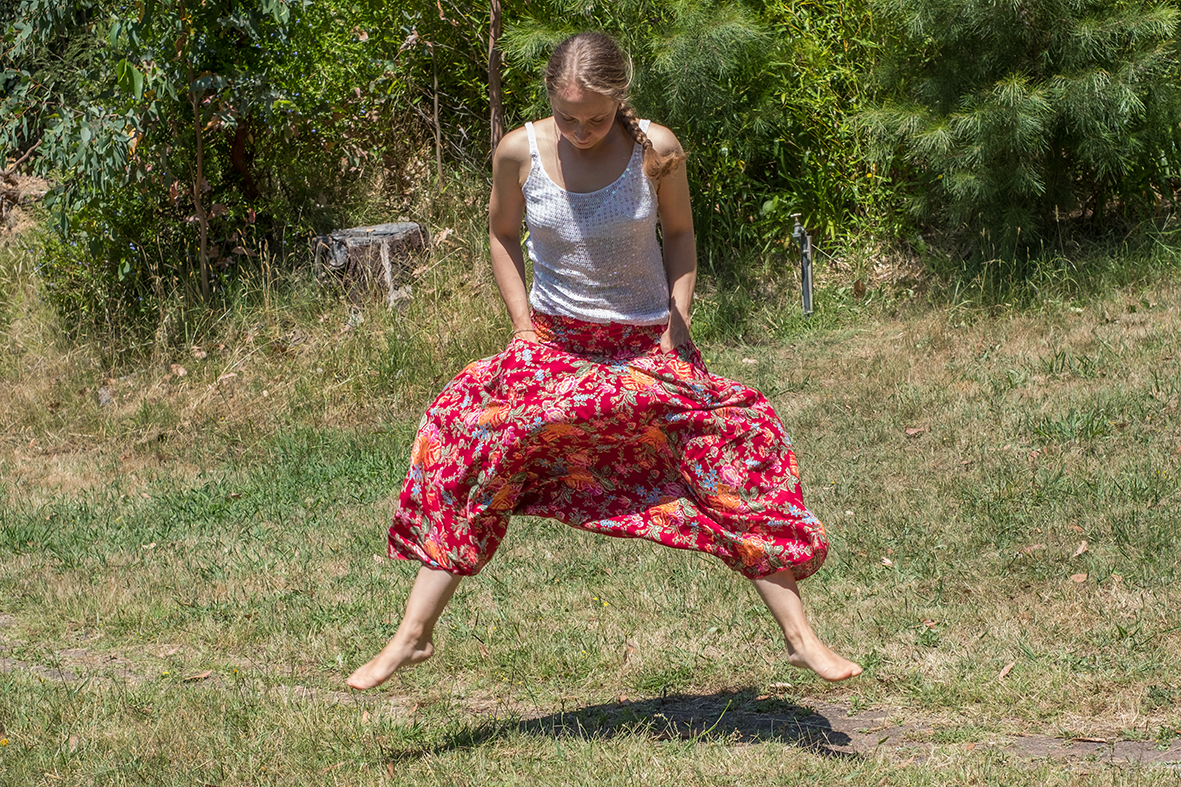
Zero waste harem pants is one of my most popular patterns. It is very simple, it is easy to make and it can be styled so many different ways! In this blog post I want to summarise all the style variations that developed through time so that you have an easy reference of what look you can achieve.
To start with, you can make the pants with leg elastics or without and it to create different looks. With the leg elastics it will look more like harem pants, while if you leave the leg openings loose it will create more "skirt-like" look.
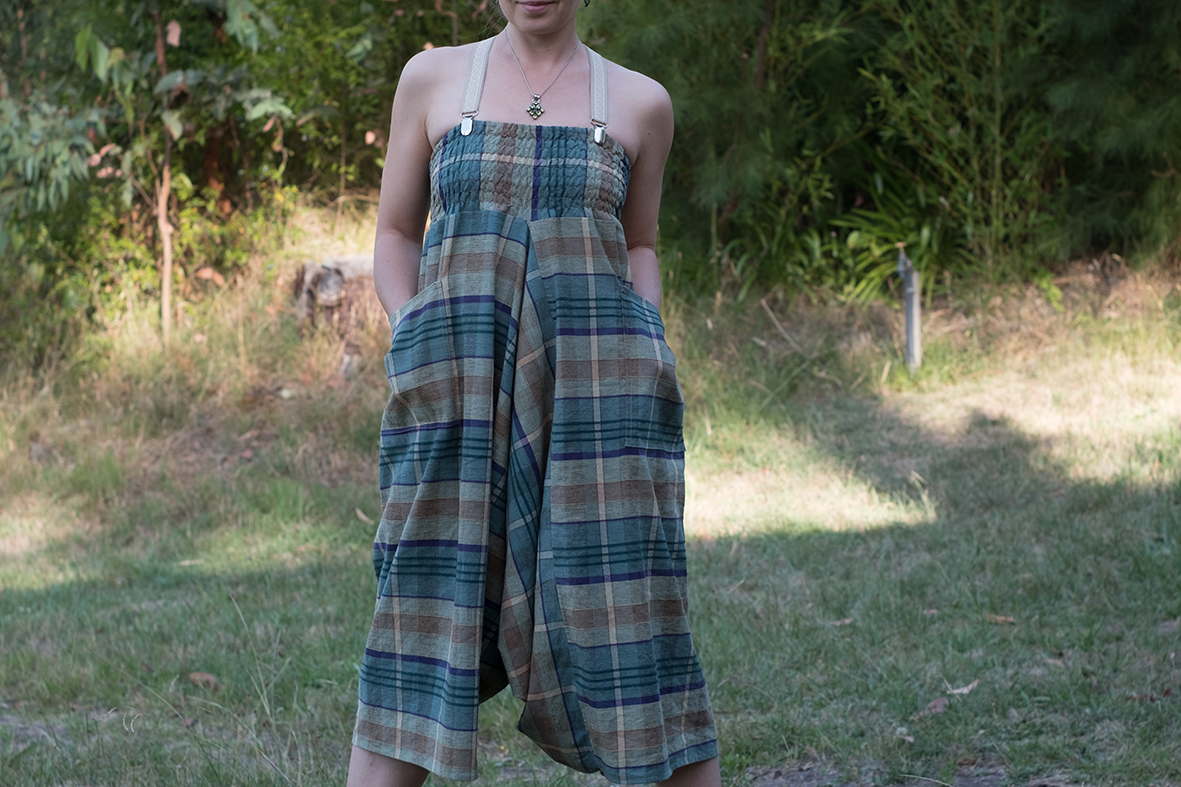
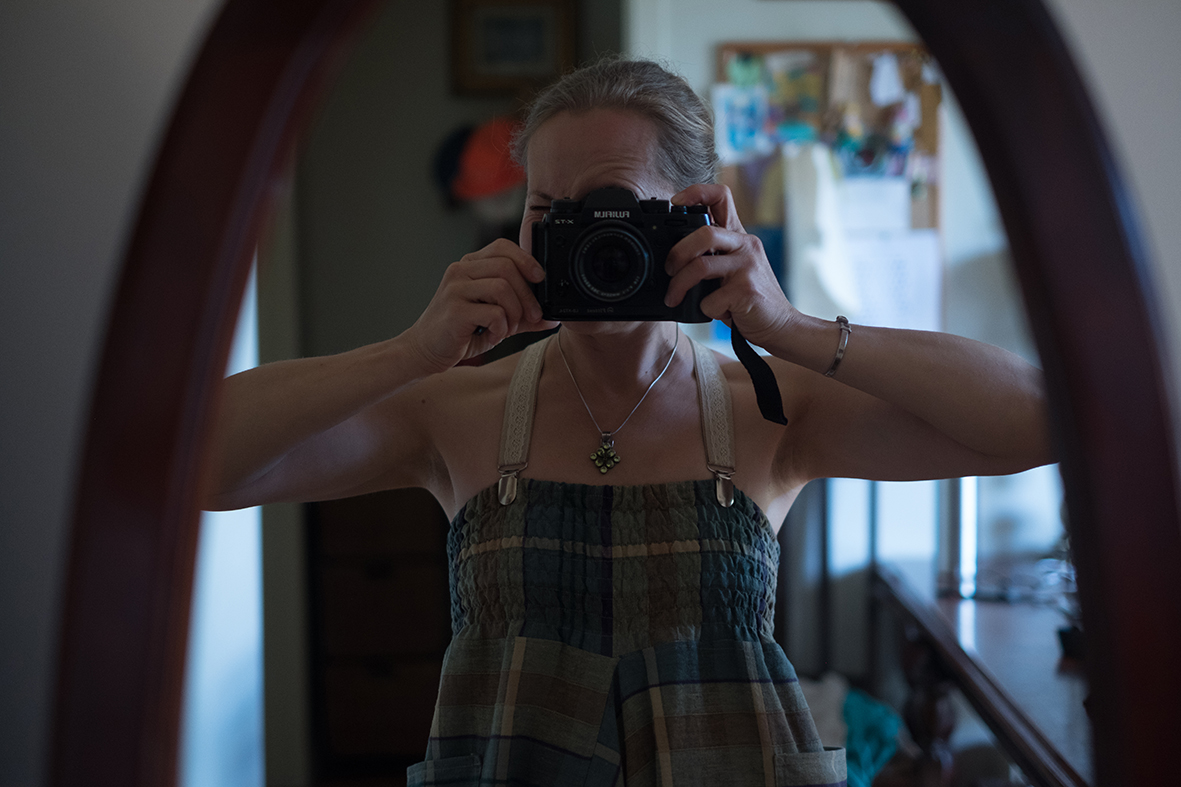
Then I came up with another idea how to wear the pants. I decided to make suspenders and try to wear the pants as onesie or a dress. And it proved to be really comfy for hot summer days! 🙂
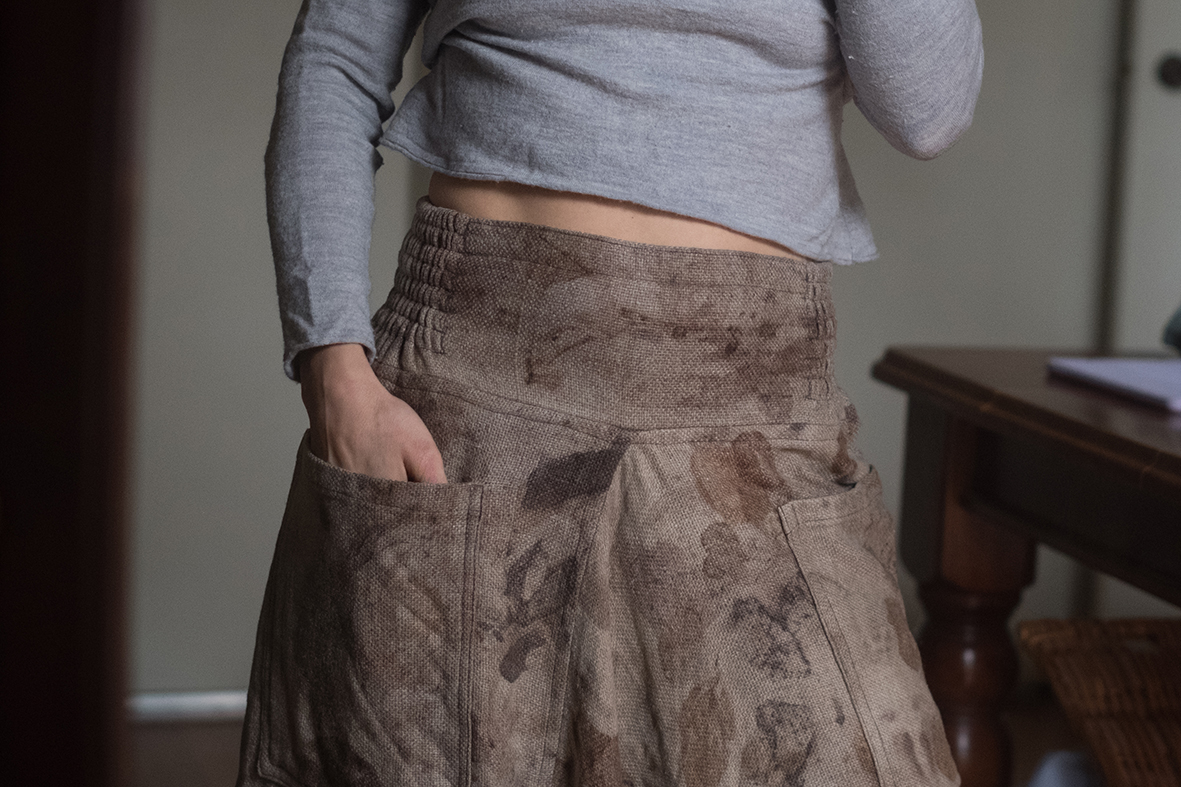
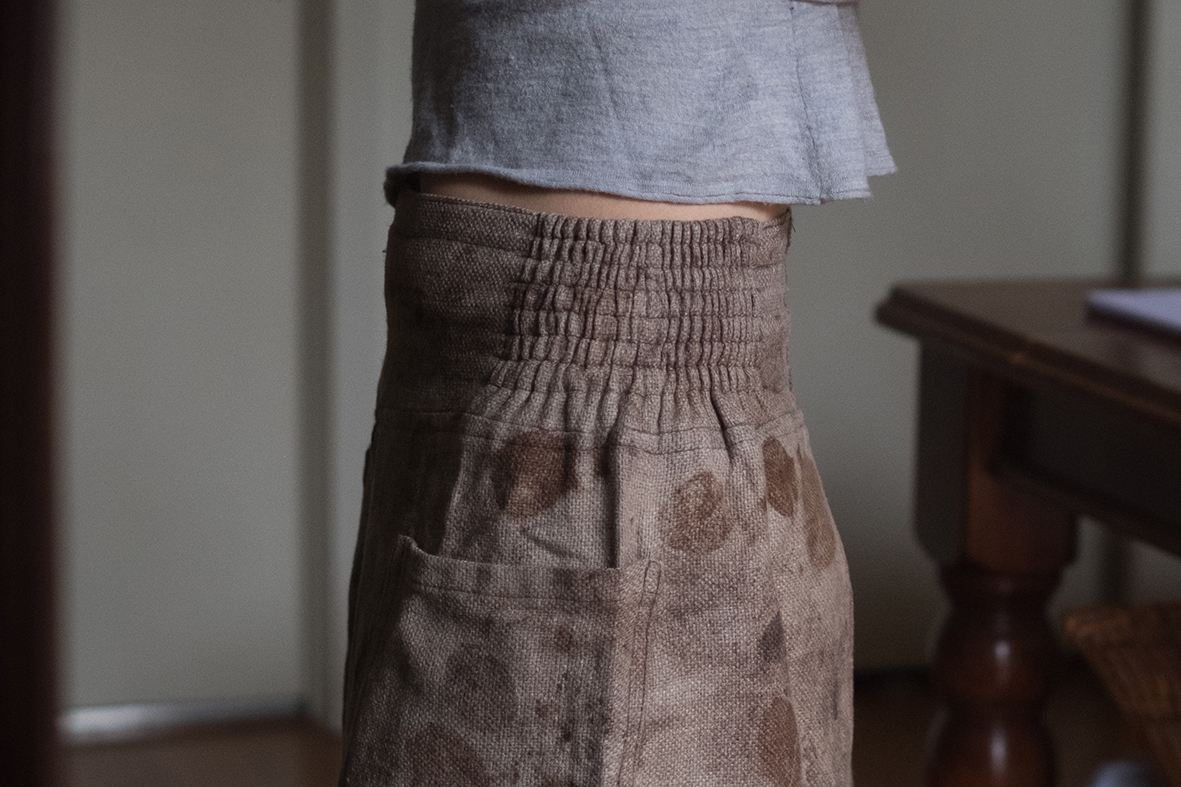
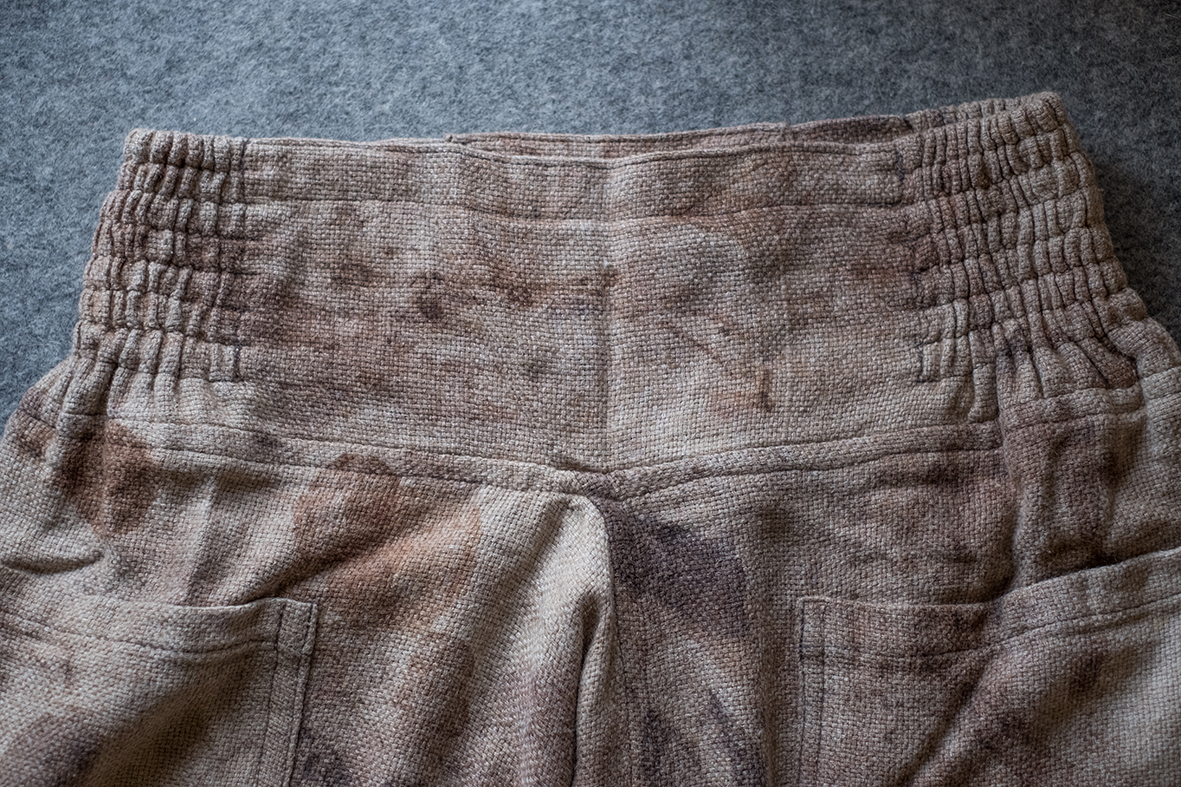
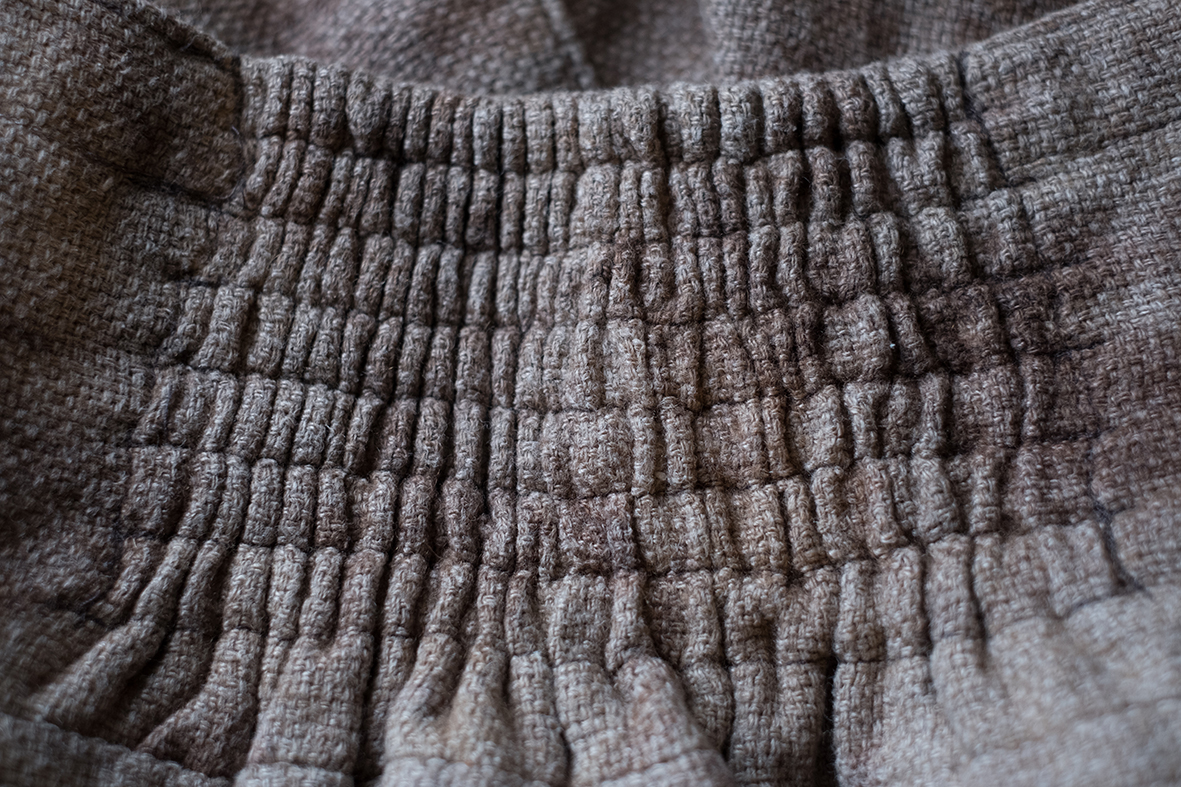
Then, during my sewing classes I had a request to adapt the pattern to be used with heavy fabrics to create warm option for winter... To do that I needed to change the belt from elasticated to something stronger. If the fabric is heavy the pants will simply slide down as you wear them as there is a lot of fabric to hold for elastic! lol Or the elastic should be much much stronger... And definitely shirring is not an option any more! So I developed two variations.
Number one. Cut the belt the same way you would do for the shirring elasticated belt. But make it two layers instead of one. Connect both layers at CB (centre back) or at sides if you need to make the belt from two pieces due to the fabric shortage. Leave about 20cm at centre front and 20cm at centre back straight, just make sure you interface these areas really well with strong holding interfacing. Then make elastic casings at the sides and insert 7-8 layers of strong regular elastic about 1cm wide.

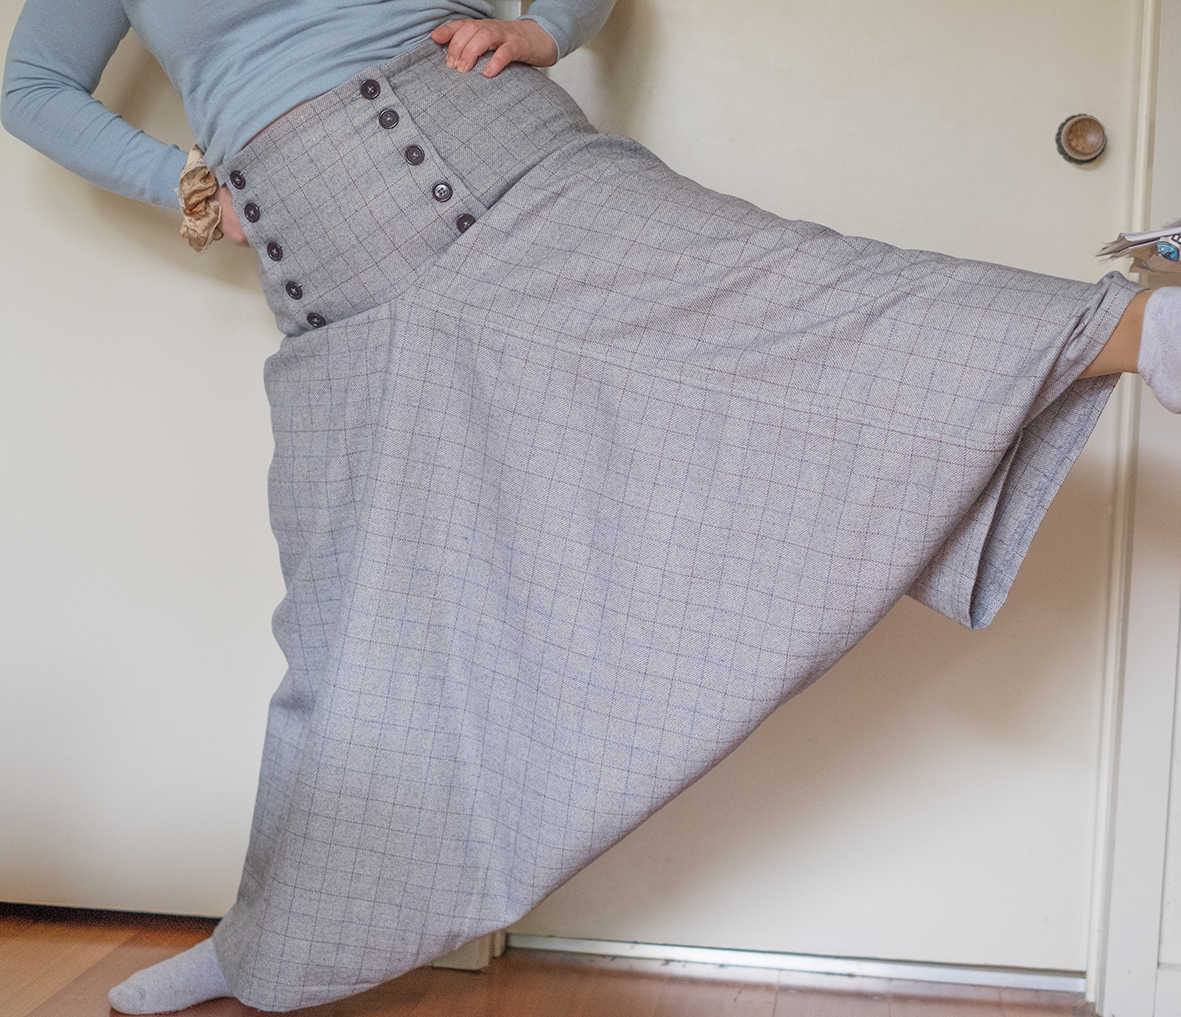
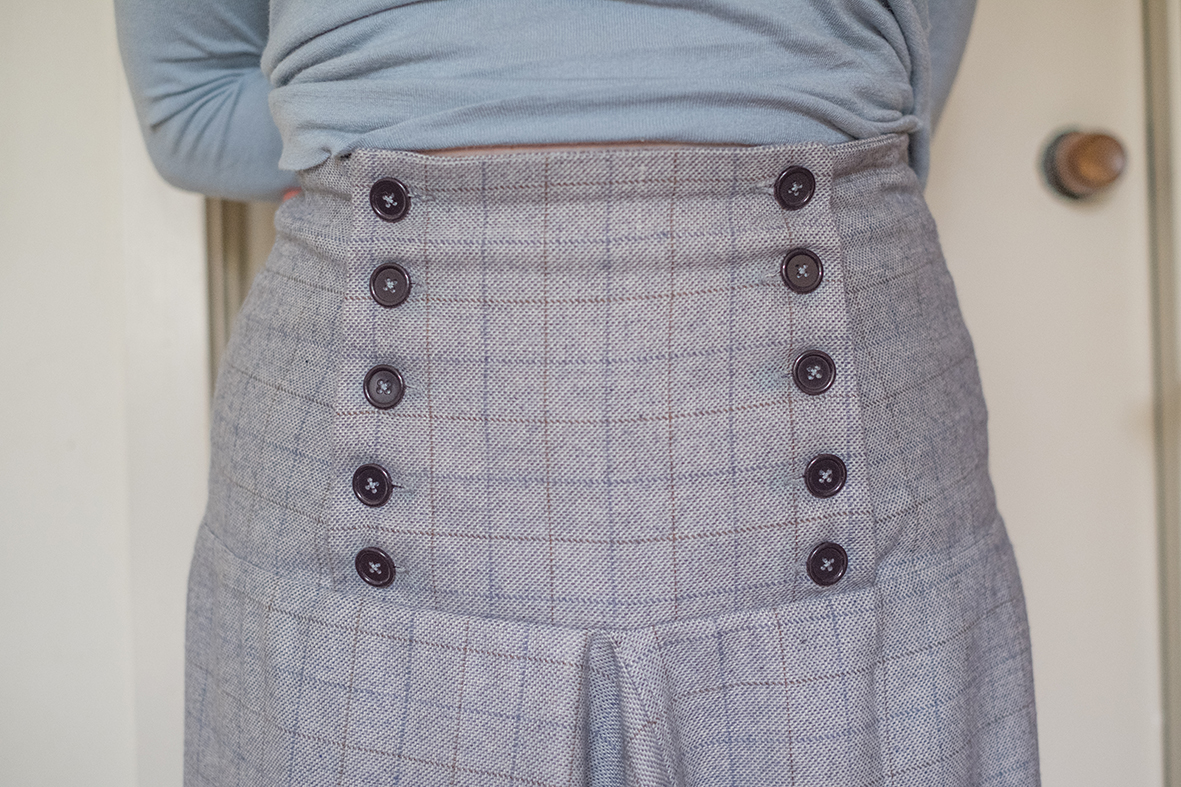
Number two. Cut the belt from two pieces - long piece will cover the back and sides and a short front piece will overlap with the back piece. Use the same logic as you would to draft a skirt. Start with rectangles of fabric and add darts as if you would do for a skirt. Your belt will need to be double layered for strength. Interface it well to prevent from stretching with time as it will hold a lot of heavy fabric.


This is still unfinished belt variation. After the buttons are attached it will become a great harem pants variation for winter! 🙂 I hope it gives you the idea of how to recreate this version!
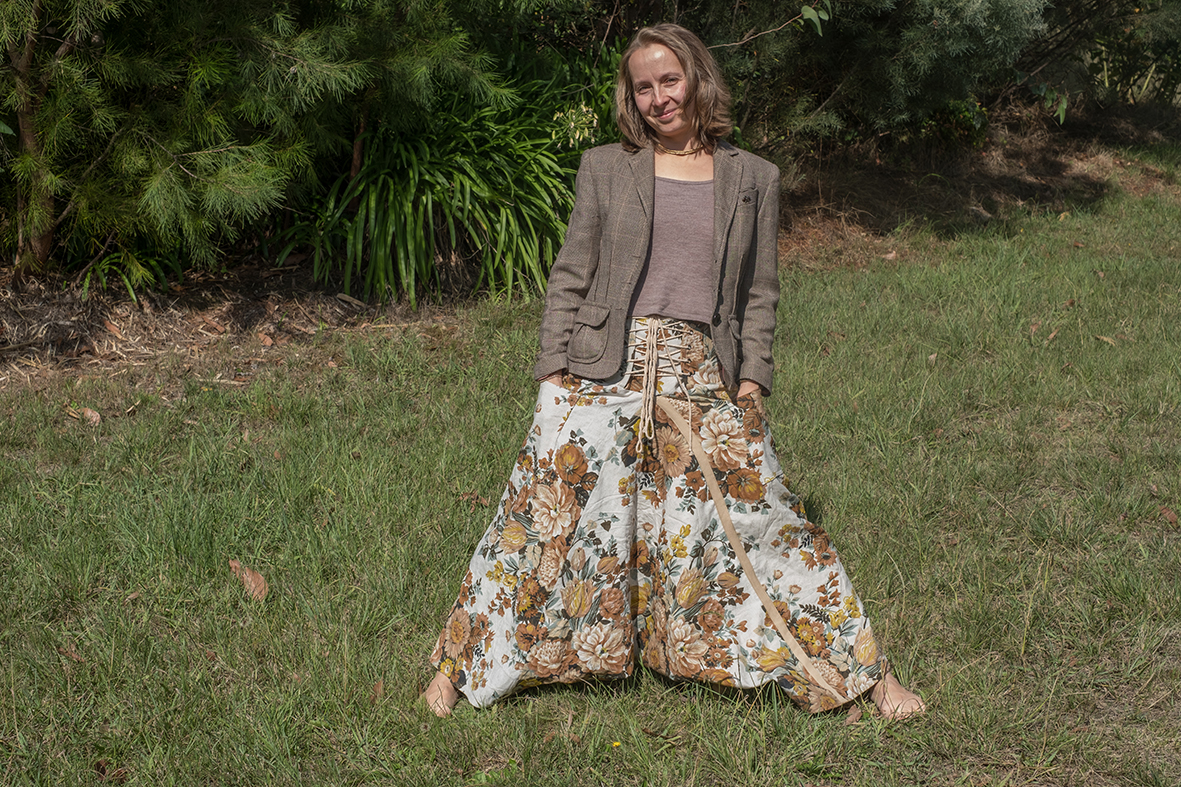
I also made a video with more detailed instructions on how to adapt the belt pattern for thicker fabrics. And came up with a way Number three of creating a fitted belt! 🙂 The technique is the same as creating buttoned up belt, but the front belt piece is positioned behind the larger belt piece and instead of buttons you install grommets.
Recently I discovered another great variation of these multi functional pants! So this post is to be continued... 🙂
UPDATE Aug 6, 2023.
Recently I made yet another pair of harem pants for myself (the fourth one! lol). But this time the pants can be transformed into... a top! Yes, sounds crazy! But stay with me! I will show you it's possible! And all you need to do is add one tiny variation to the pattern - a slit at the bottom. To create a pair for my size (hips 96-100cm) I used 100% silk crepe fabric. I had 1mx2.15m fabric piece. And this is my layout:

To be able to transform the pants into a spacious top do the following variation to the pattern (you need to download and read the pattern instructions, link at the start of this blog, to understand the instructions):

Use the front decor piece to mark the front on your top. Use the square piece of fabric left to cut it into continuous bias binding and finish the neckline opening. Depending on your size and neckline width you have chosen you might have a small piece of bias binding left.

Here are my results: Do you like it? Would you create and wear it? 🙂 Let me know in comments?
UPDATE: Jan 3, 2024
By the way, the pattern is easily adaptable for children! I recently hosted a family workshop for a mother and her daughters and also made two pairs for my girls! 🙂 Use the same pattern calculations outlined in the pattern and you will get a smaller version of this great piece of clothing! 🙂
I hope this post was useful!