
This is another post where I want to share how I create things. The toy I am going to talk about here was made as part of creative collaboration with Apiwraps.
The original cat is now part of the private collection and you can view him at Smiling Sofia's Musical Box Gallery in Melbourne. If you like this collectable unique toy you can create one yourself! And in this post I am going to share with you how and even give you a free pattern.
___________________________
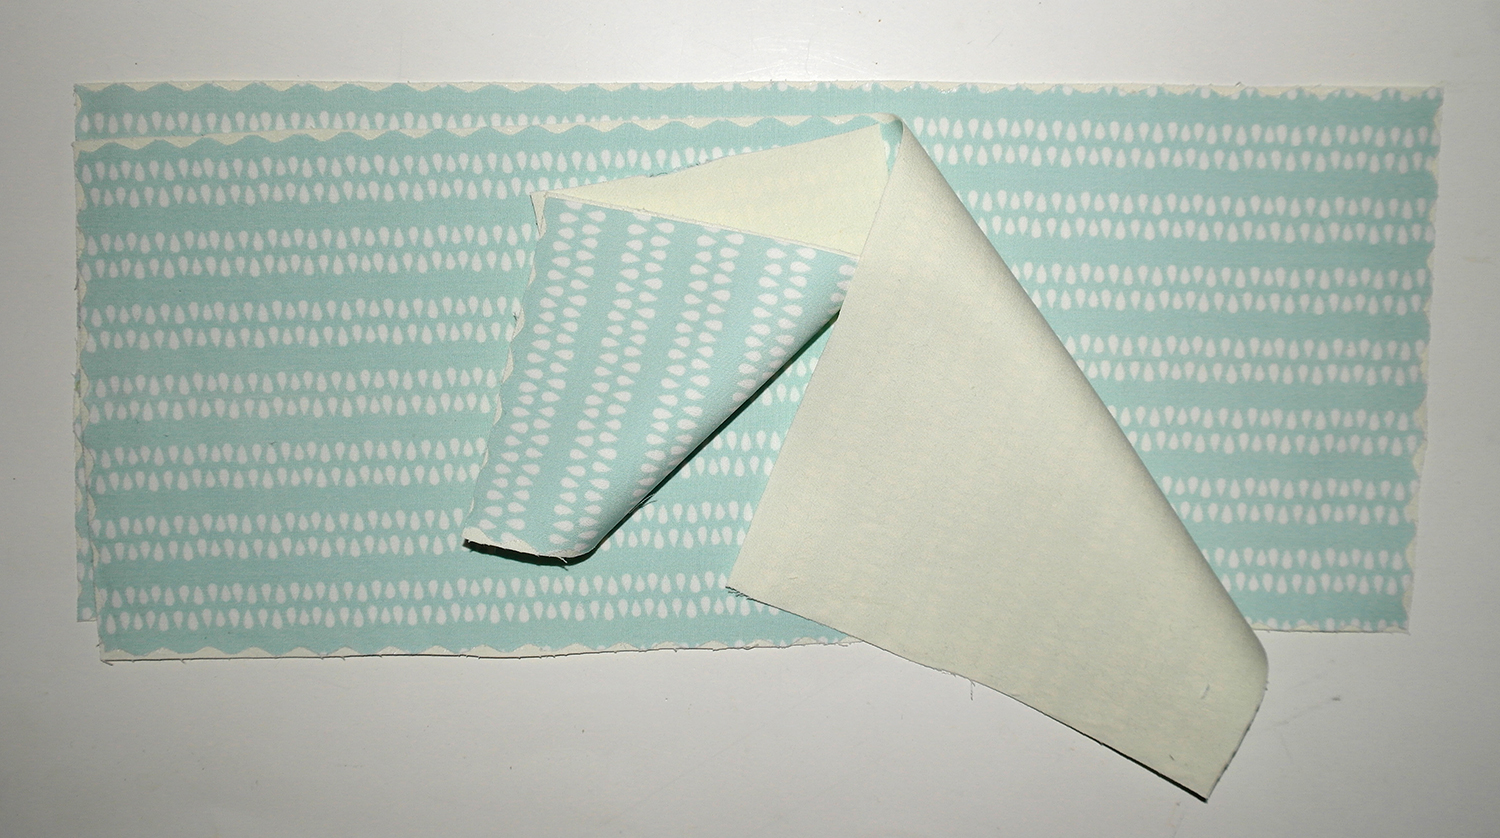
I used organic cotton fabric offcuts for the cat’s body. And because the fabric I was using was rather thin I doubled it with wonder web – it is kind of double sized interfacing that can glue two fabrics together – great way to experiment with designs and textures. (See the picture below) It also makes fabrics more sturdy. But you don’t have to do it the complicated way – just choose the fabric that is already thick and sturdy like jeans, corduroy or even upholstery fabrics. The only thing to keep in mind, that you will need to increase the seam allowance from 0.4 cm that I have on the pattern to 0.7 – 1 cm for thick fabrics that fray a lot. My fabric did not fray so the seam allowance is rather small.
As a zero waste creator I develop small patterns like that on any recycled paper I have at hand. I then digitalise them on the computer if needed. You can download the free pattern HERE.
Print your pattern, cut the fabric.

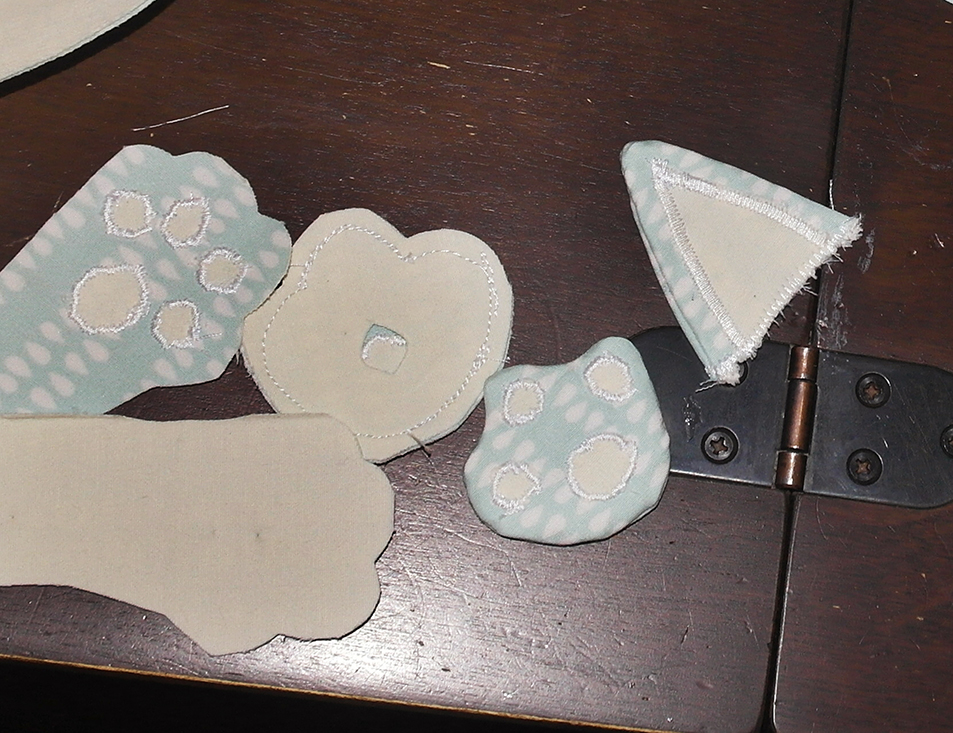
Start with attaching the contrast circle parts on the ears, feet and hands of the cat’s body with zigzag stitch. To make it easier to stitch I first glued them with wonder web to fix their position. Once it is done stitch body parts together on your sewing machine.
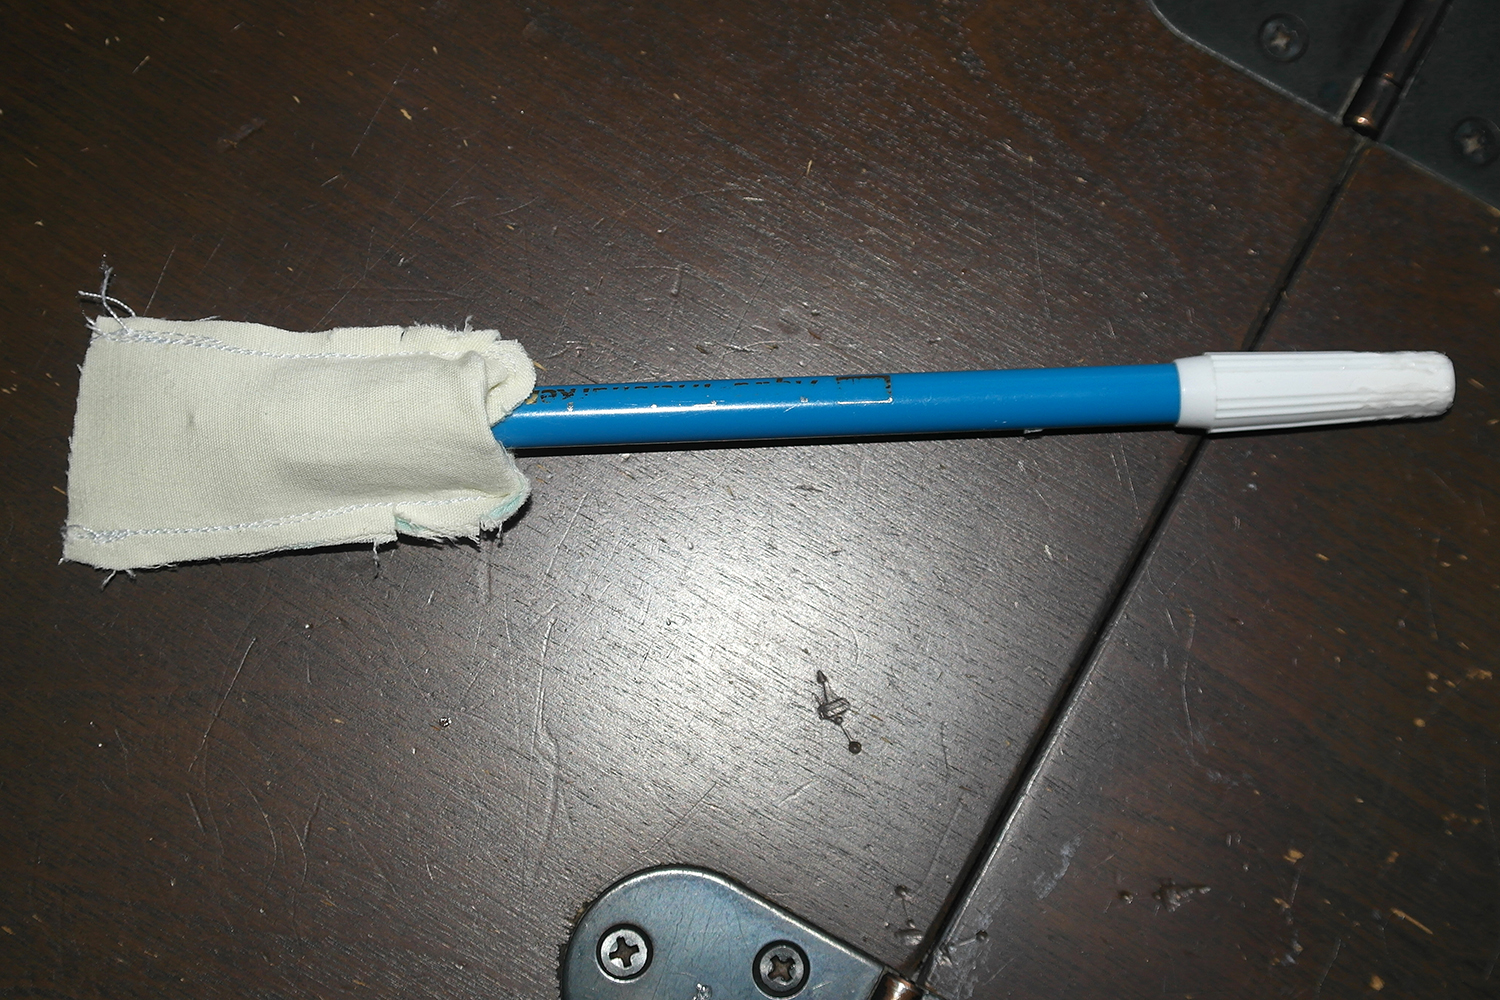
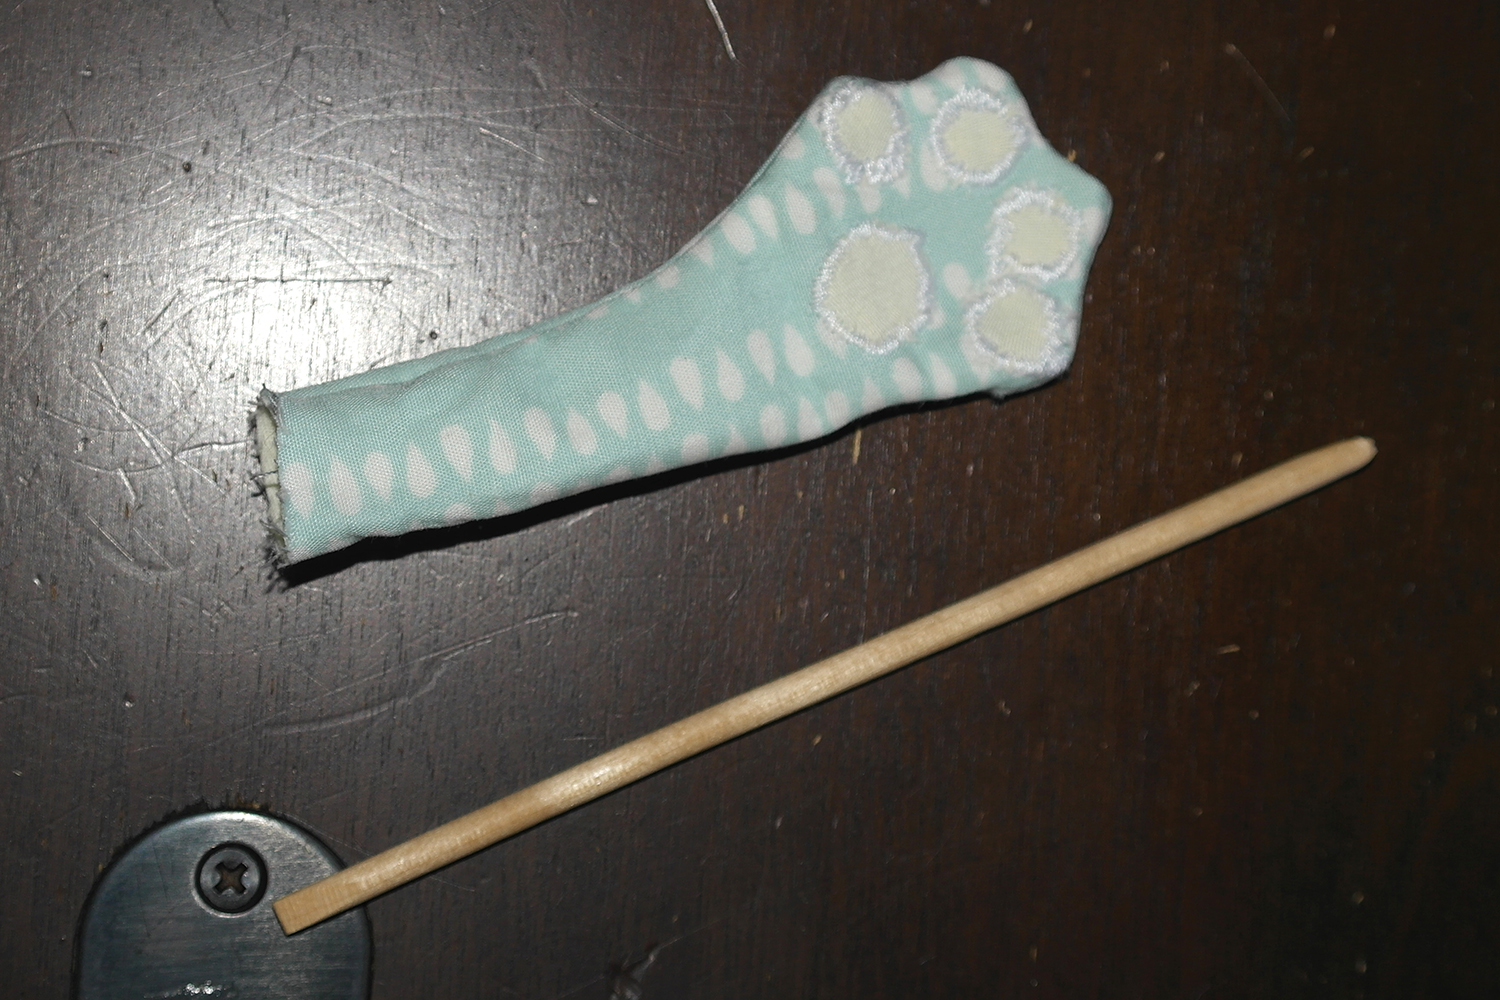
If you are using thick fabric you might struggle to turn thin hands and the tail parts inside out. Here’s the trick that I use for that. Make a dent at the end of the part to be turned inside out (see pictures below), insert a pencil or anything of that shape in the dent and gently pull the sides down. Once you have the pencil end with the right side fabric sticking out on the other side, hold it and pull all the piece on the right side. I used the same method to turn the tail inside out. It might take a bit longer though as the tail is longer and thinner. To turn the feet inside out cut out a circle in the top part of each foot and turn them through that circle. I use little wooden stick to gently turn all the corners properly.
To do the head with ears you would need to catch the inner ears’ ends in the darts on the top of the head first, then attach the rest of the ears to the head’s seam and only then connect two head parts together leaving a gap of around 3-4 cm at the bottom of the head.
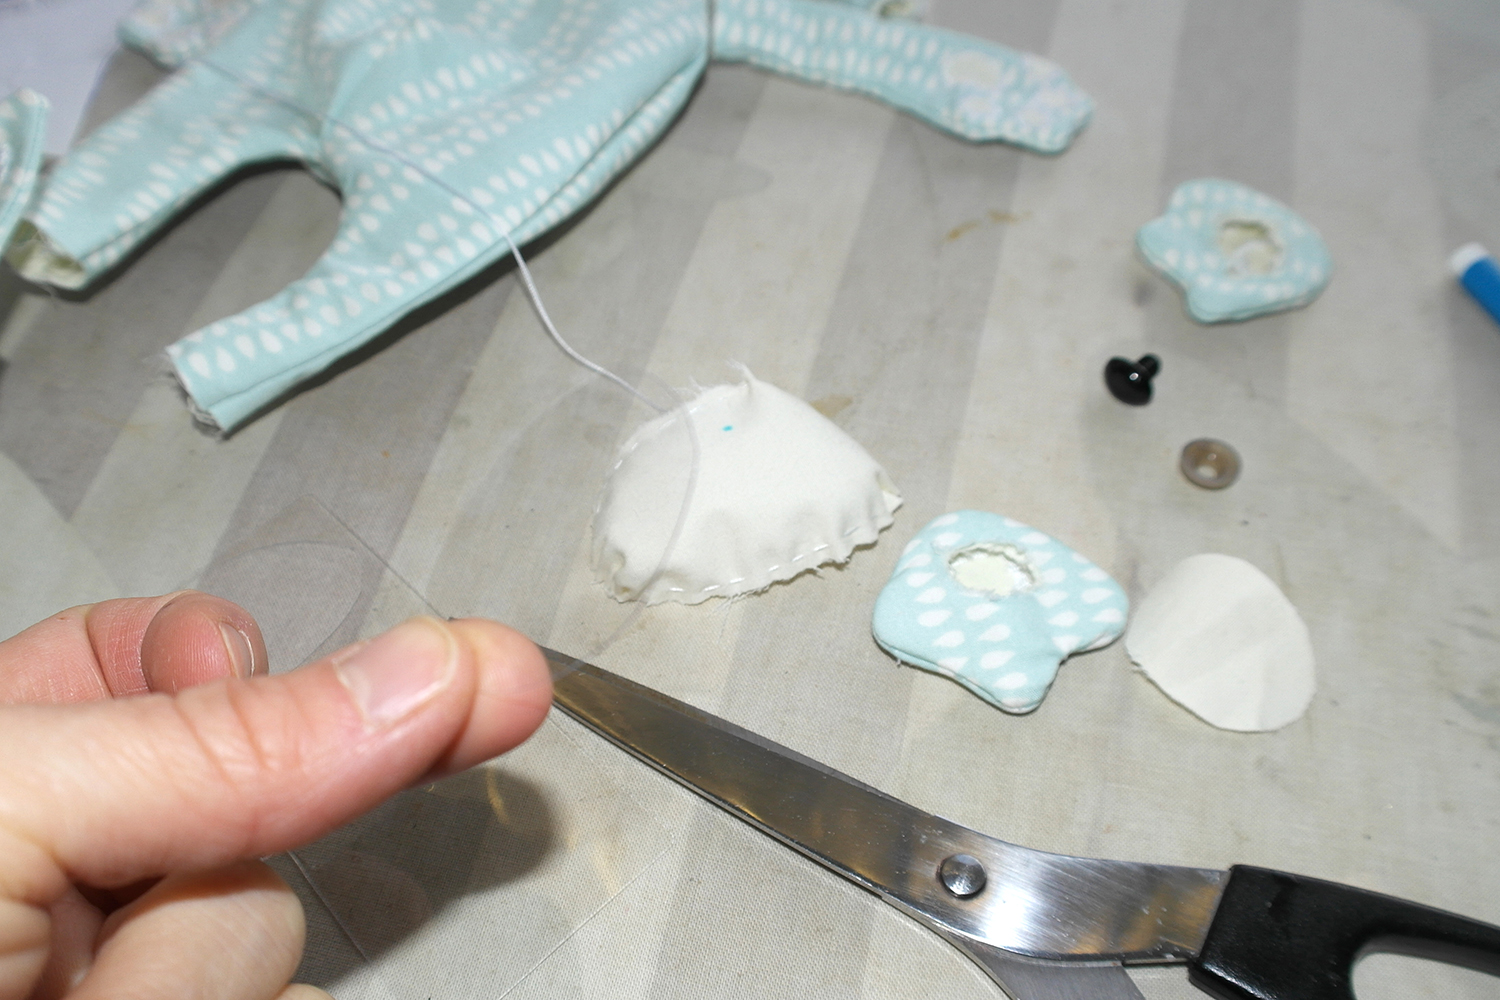
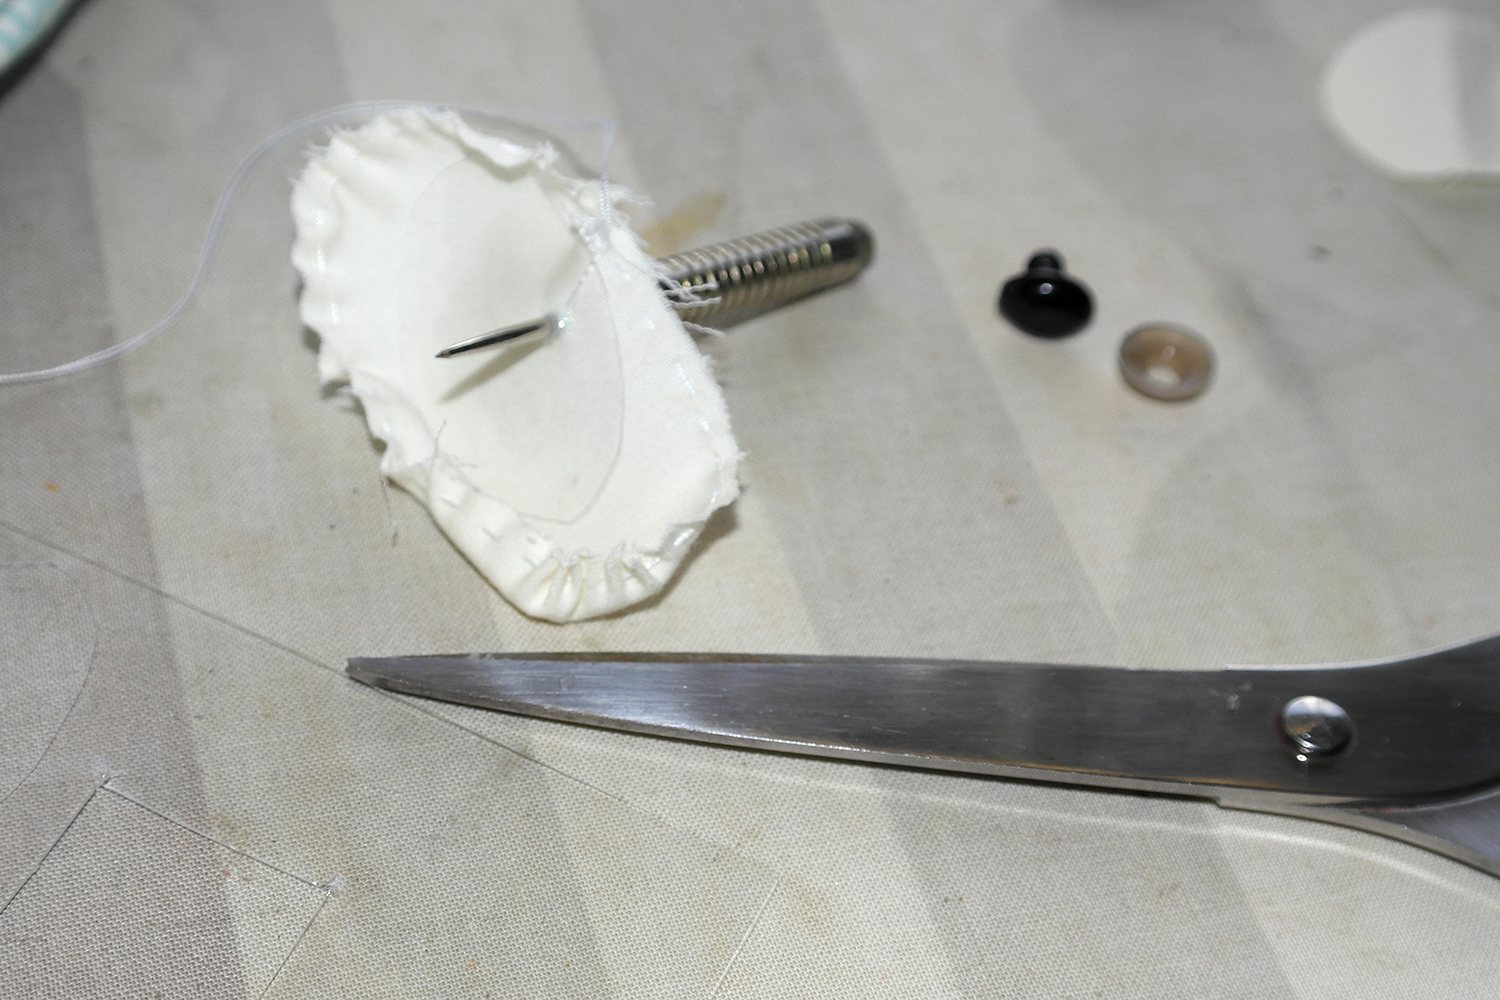
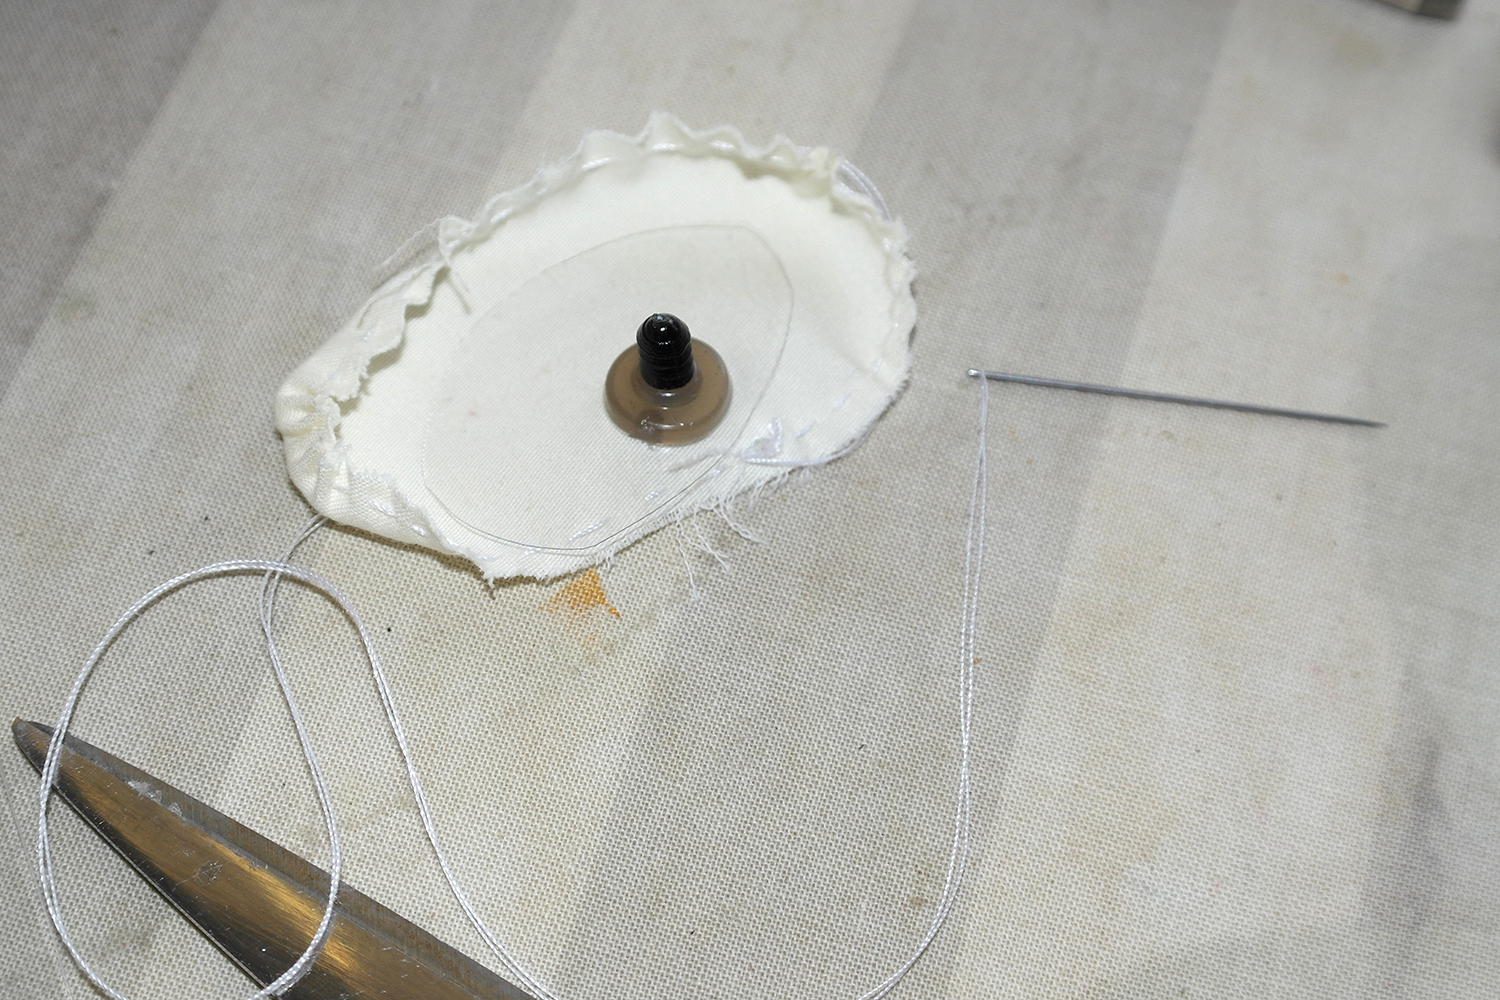
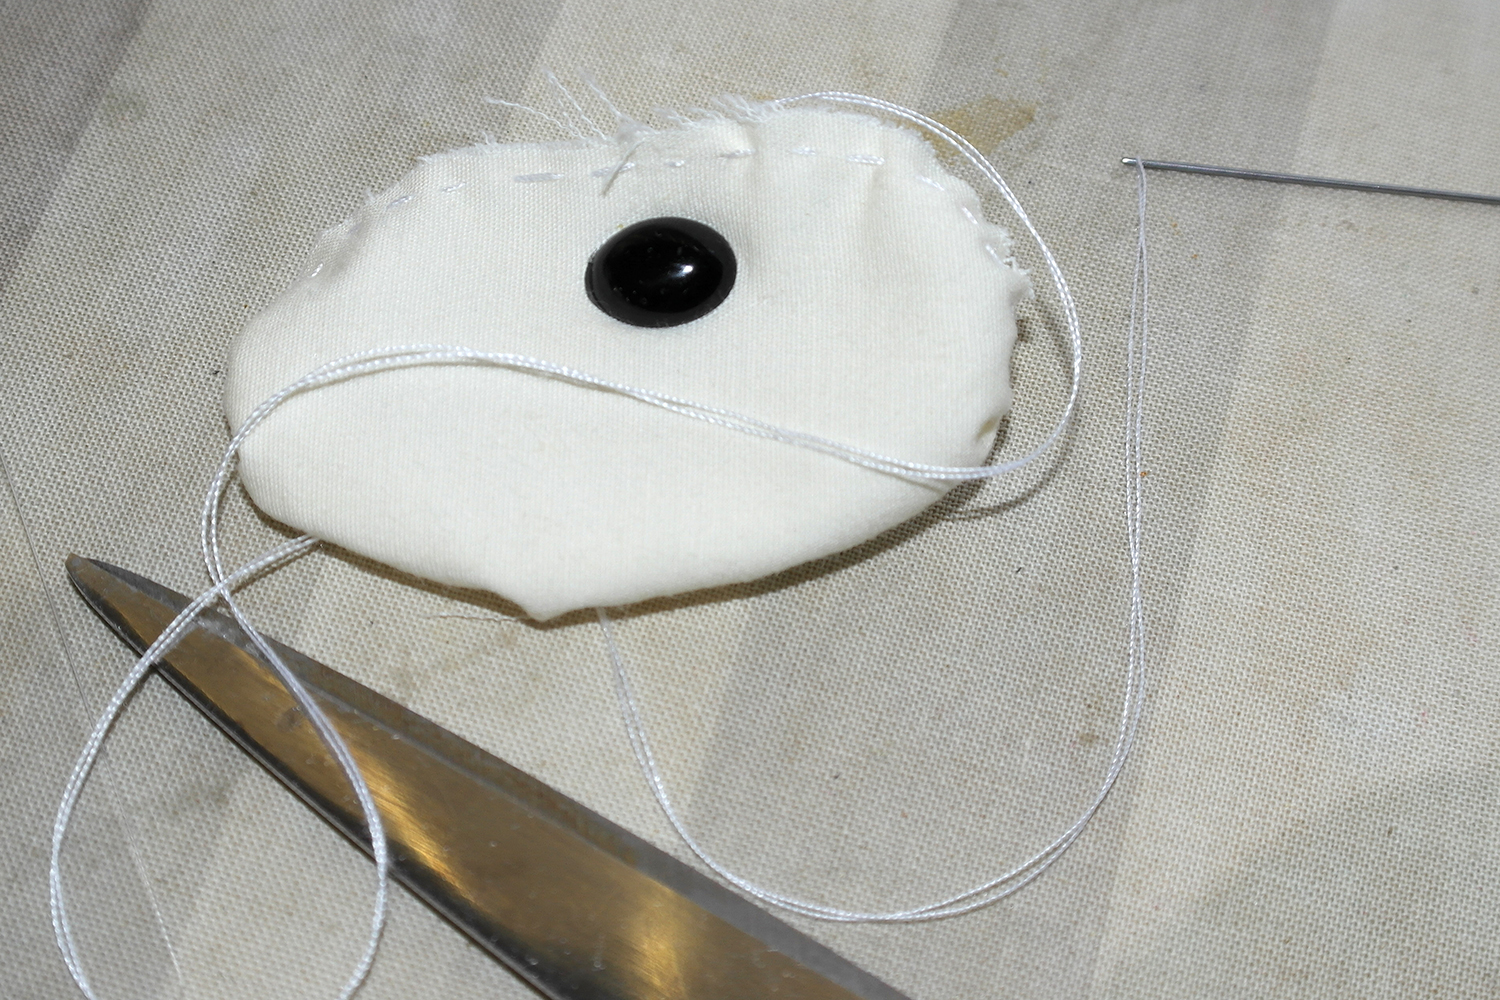
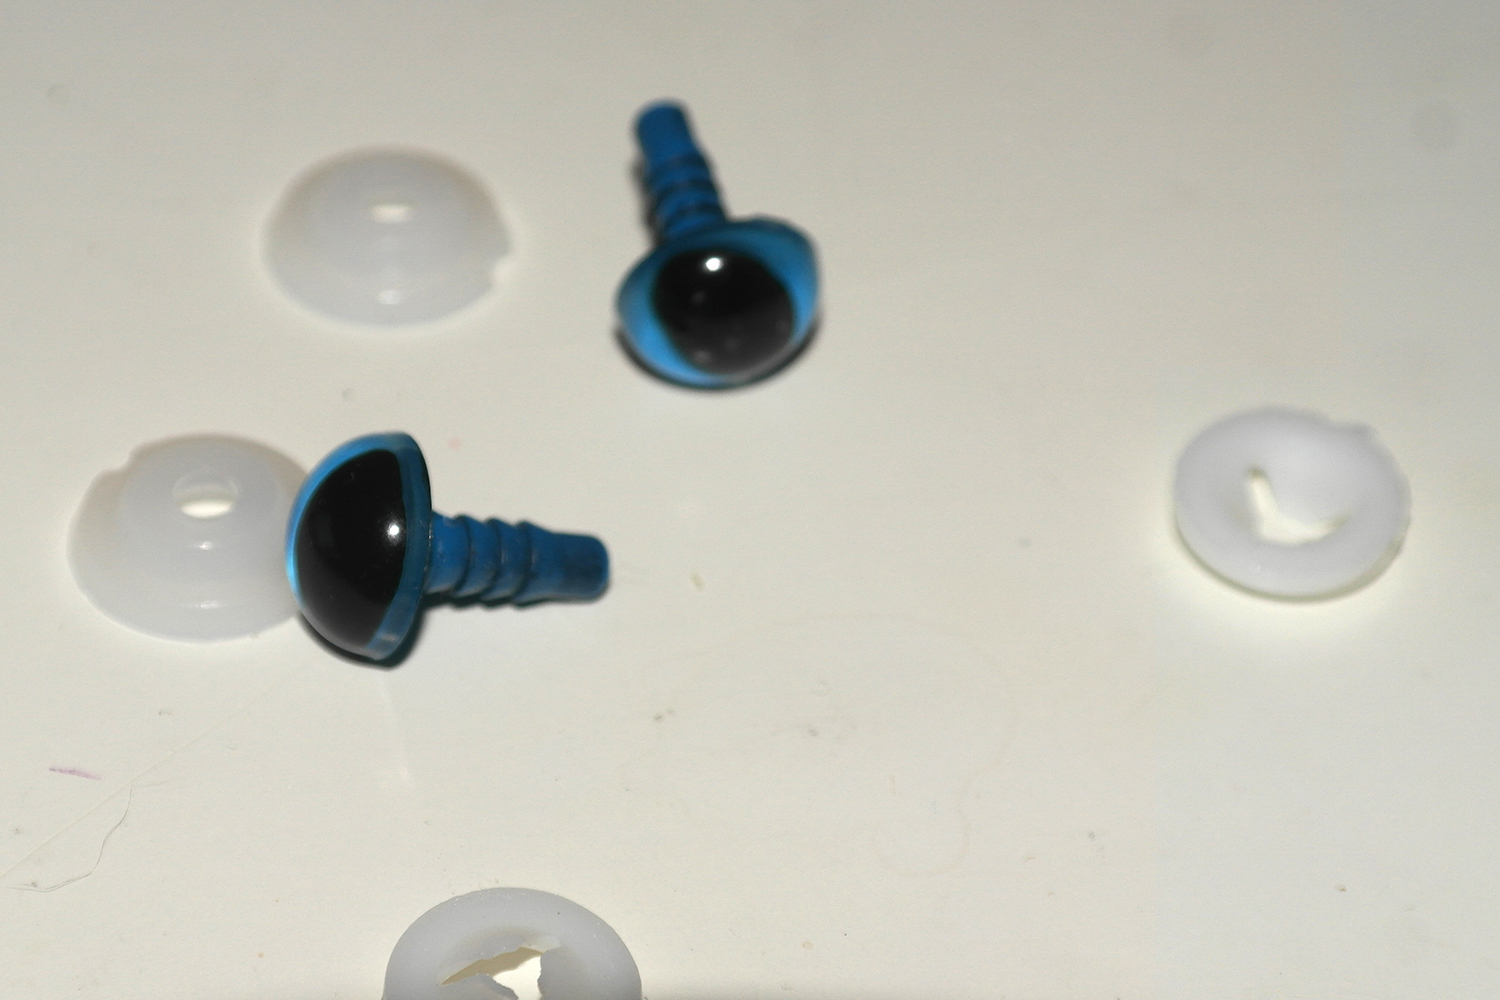
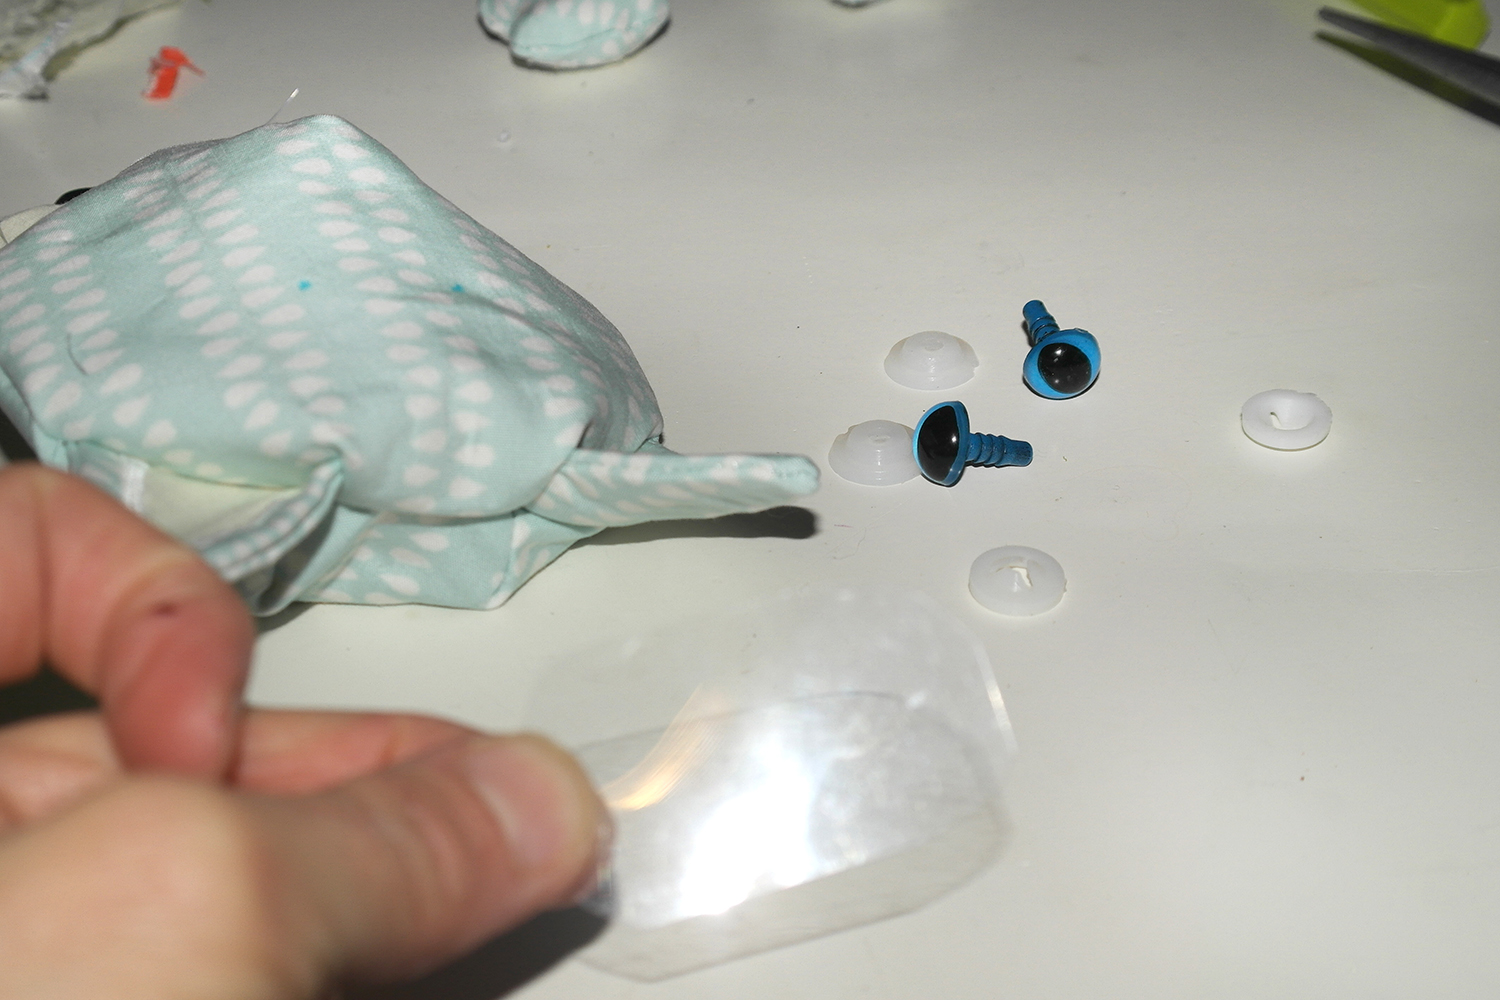
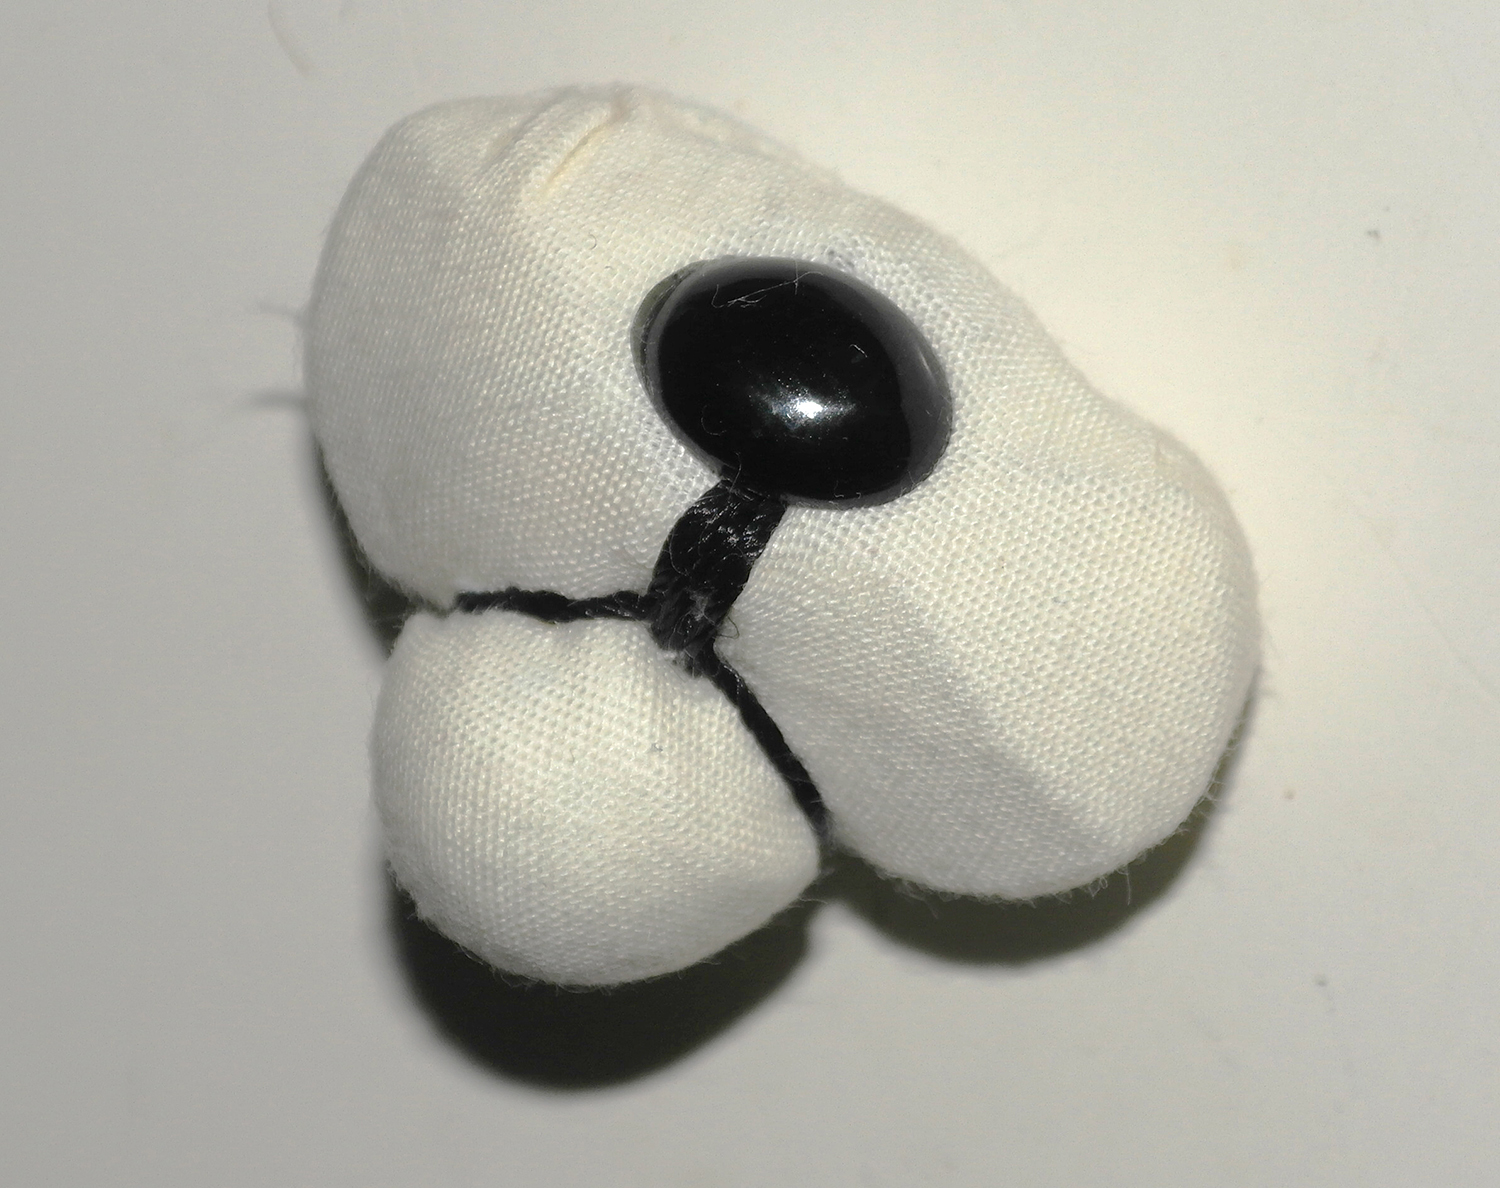
Now you can do the face parts. You can use ready-made plastic face parts. Alternatively, if you choose to go plastic free you can just embroider the eyes and the nose. I had these parts in my collection left after doing a job on reconstructing some antique toys so I decided to use them.
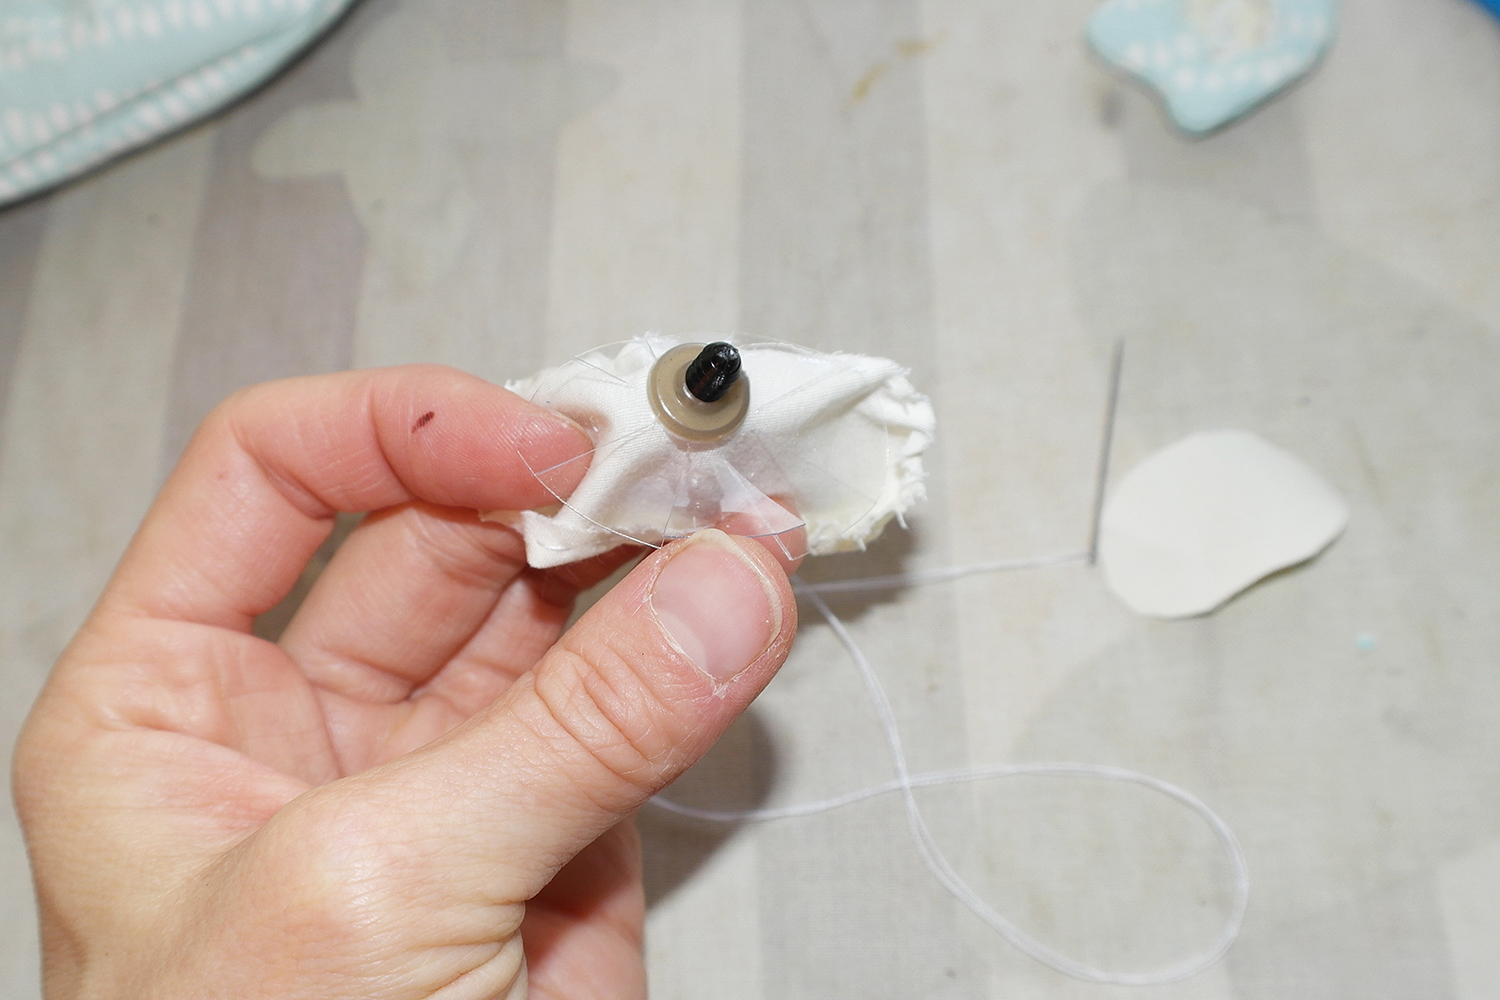
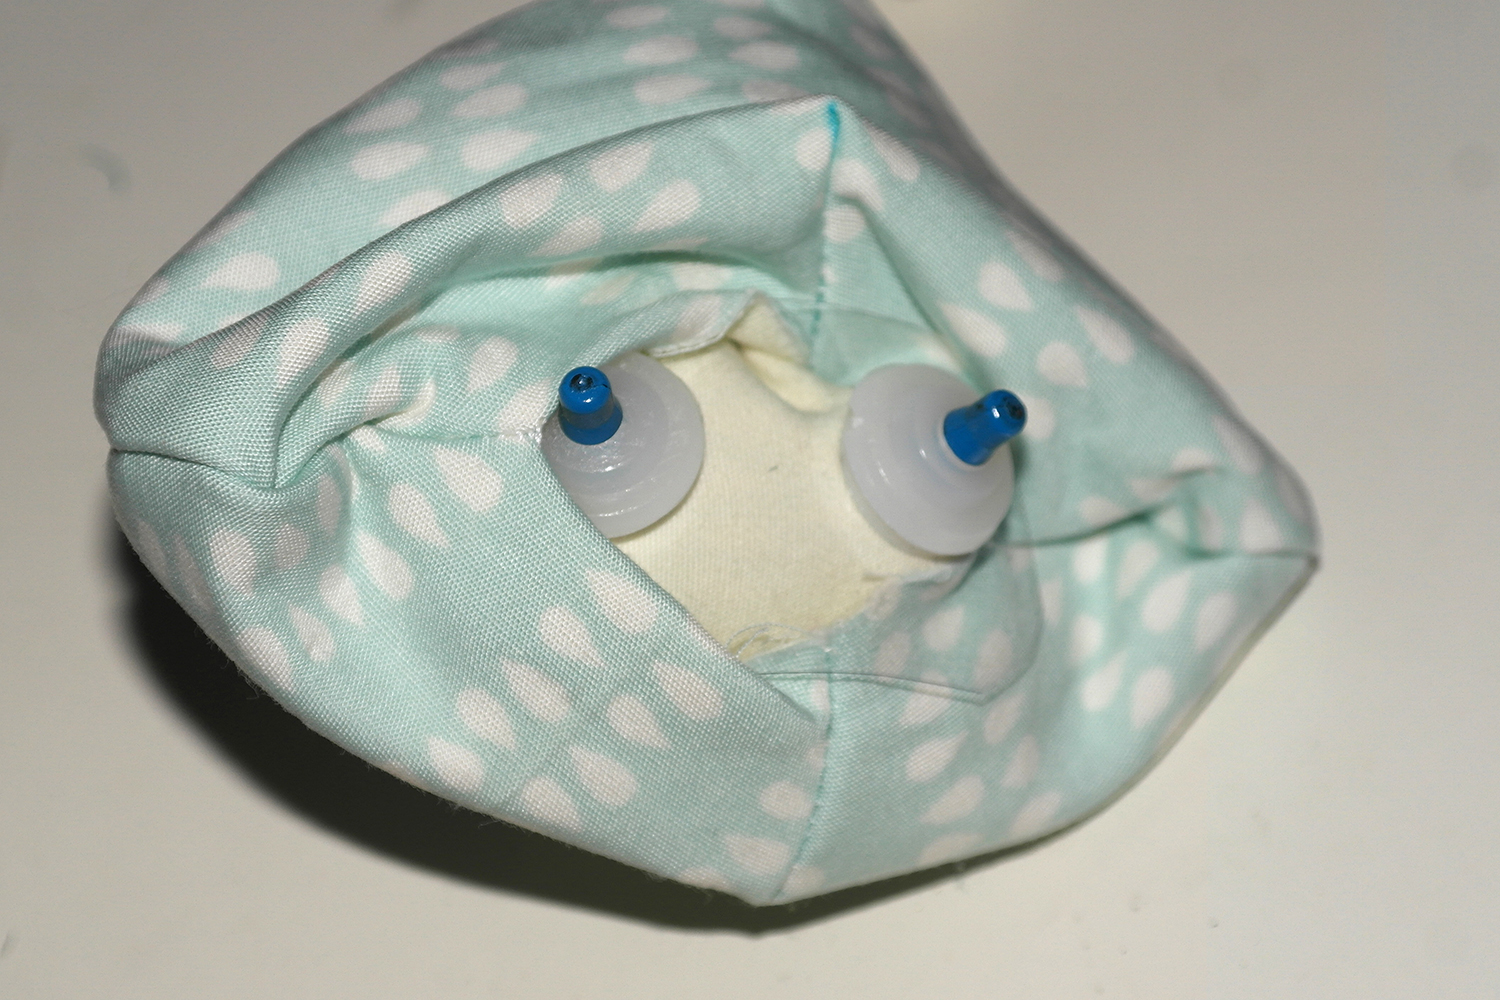
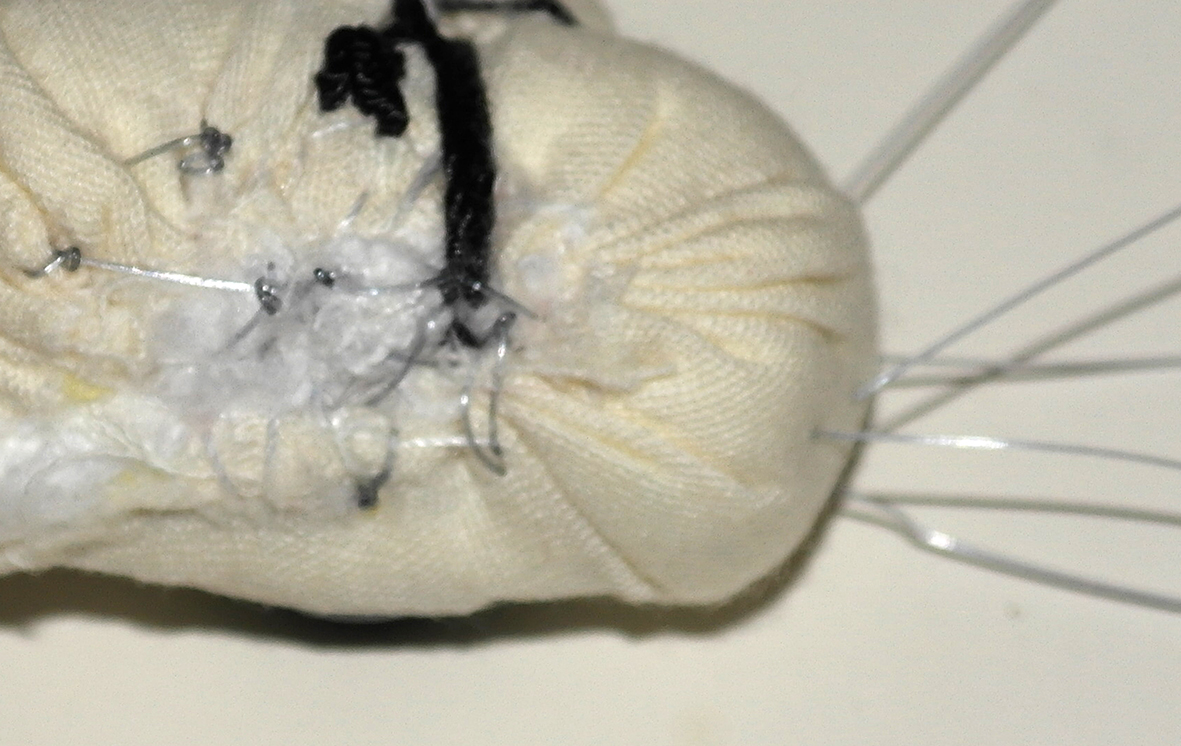
If you are using plastic nose and eyes – mark their position. To make sure they stay properly and do not damage the fabric with time I used plastic off cuts from recycled packaging to reinforce them from the inside of the toy – see pictures below. Around the nose I made some cuts through the plastic so that it curves when the nose part is stuffed.
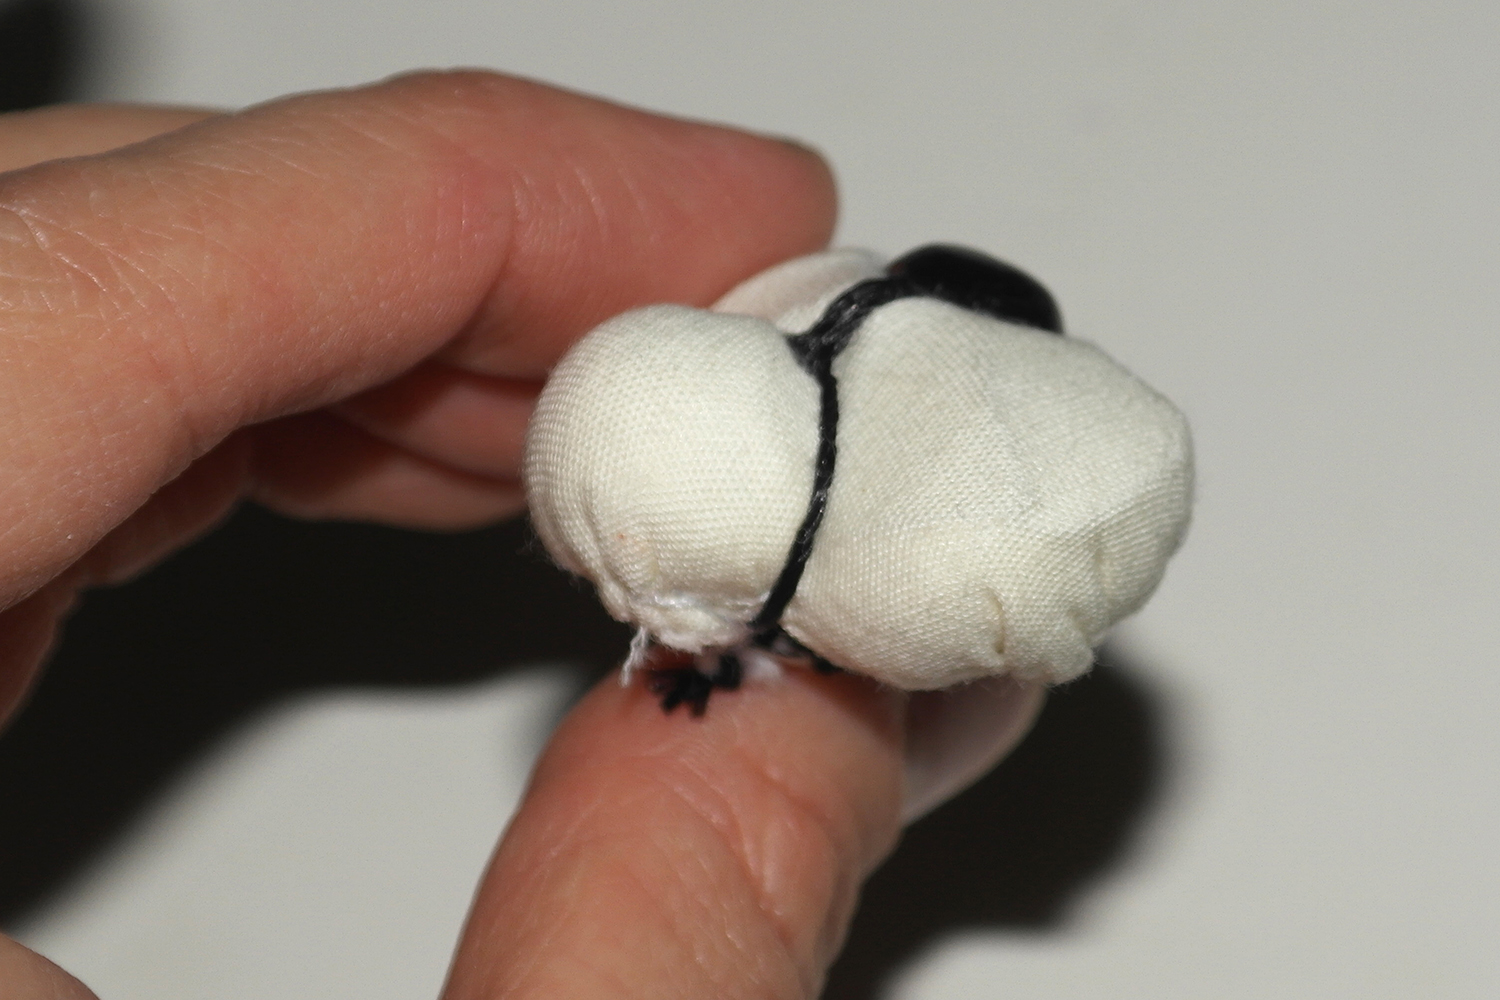
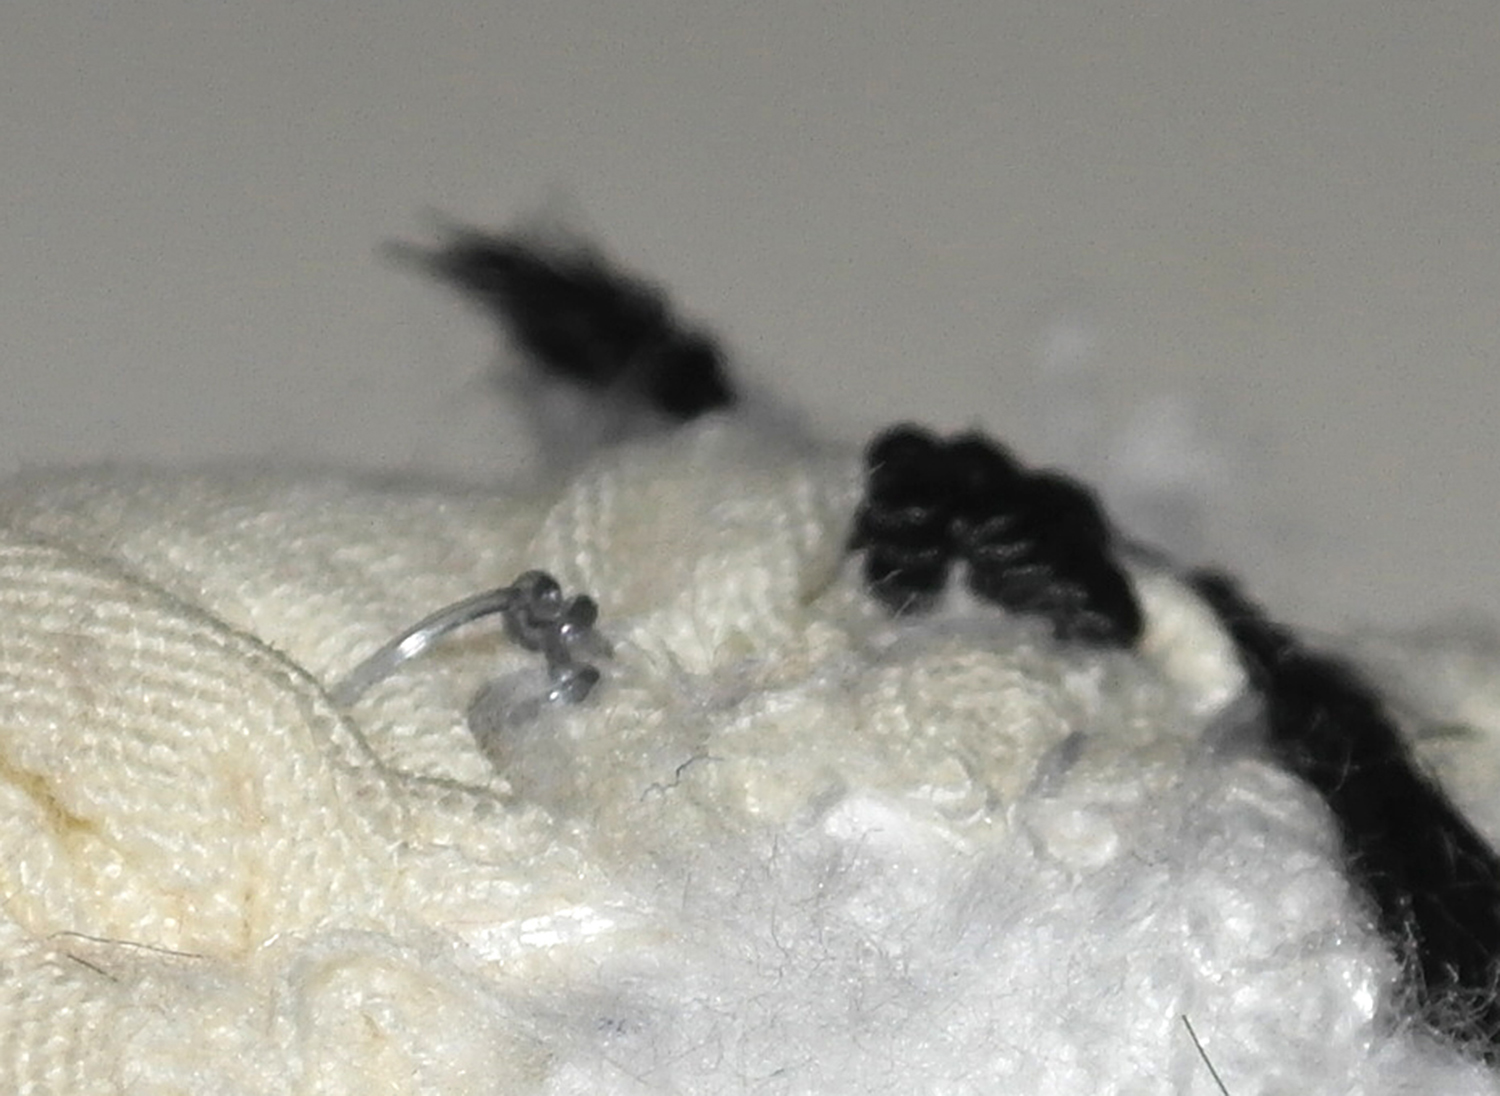
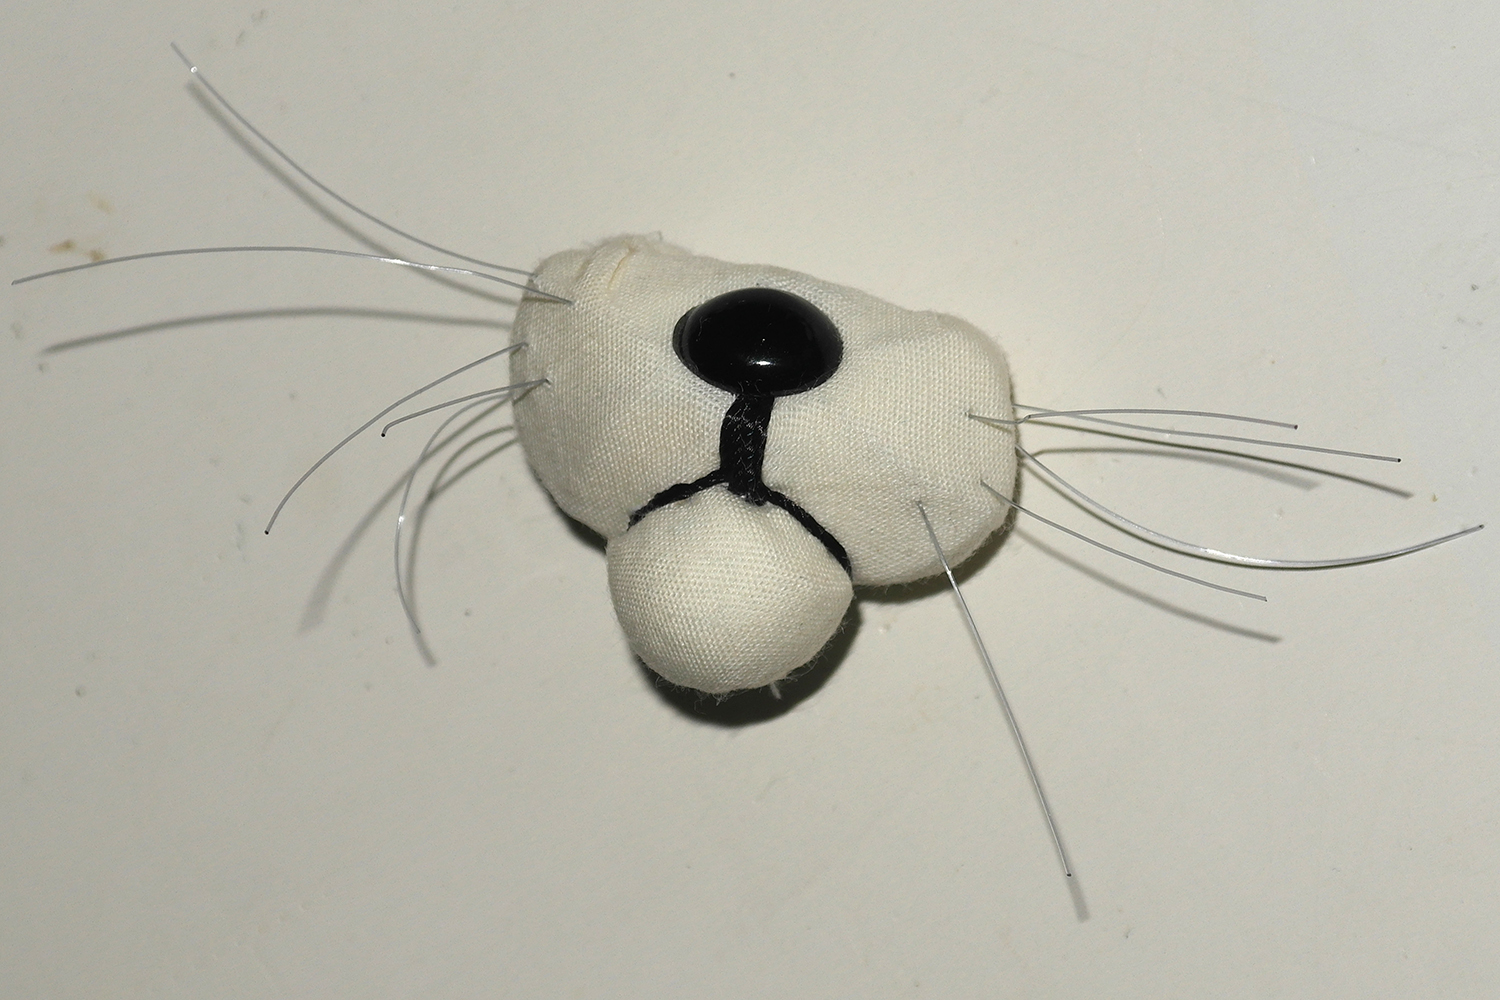
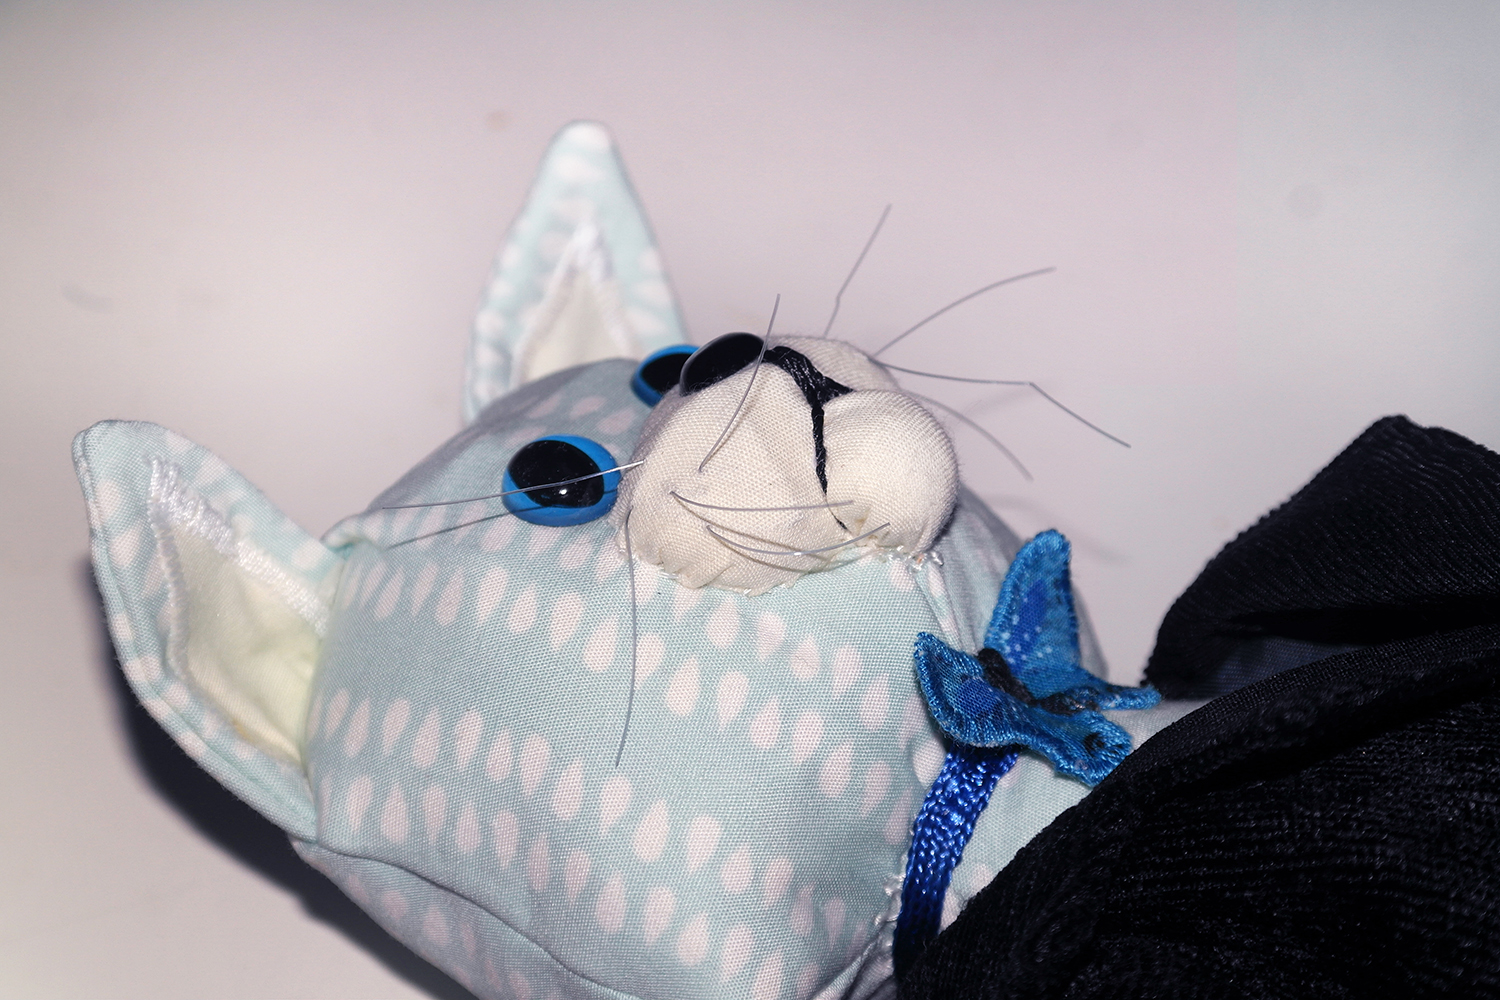
Stuff face parts and connect the smaller circle with the big oval to create the cat’s face. To make the face more realistic I embroidered the mouth outlines with thick black thread and used thin fishing wire to do whiskers. I choose never to use glue for the toys I create as with time any glue will damage the fabric and will start to develop marks. All the toys I make are exclusively hand stitched. To do the whiskers I simply did knots at the back of the nose part. This will keep them in place. See pictures below for more details.
Now you can stuff the toy! I use tiny fabric offcuts to stuff the toys I make. This makes my practices zero waste as I use literally everything not throwing fabric or threads leftovers into the bin at all. You can choose any stuffing of your choice for your toy though.
If you choose to stuff it with fabric waste you might have at home you would need quite a lot of offcuts to stuff the toy if you want it to hold the shape and be able to stand on its own. (See picture below for rough estimate on how much offcuts you might need). You can choose to make the toy softer and use less offcuts – this is also an option. I made my cat really stiff.

Stuffed body parts now can be assembled together. I use hand stitching and extra strong thread to do so.

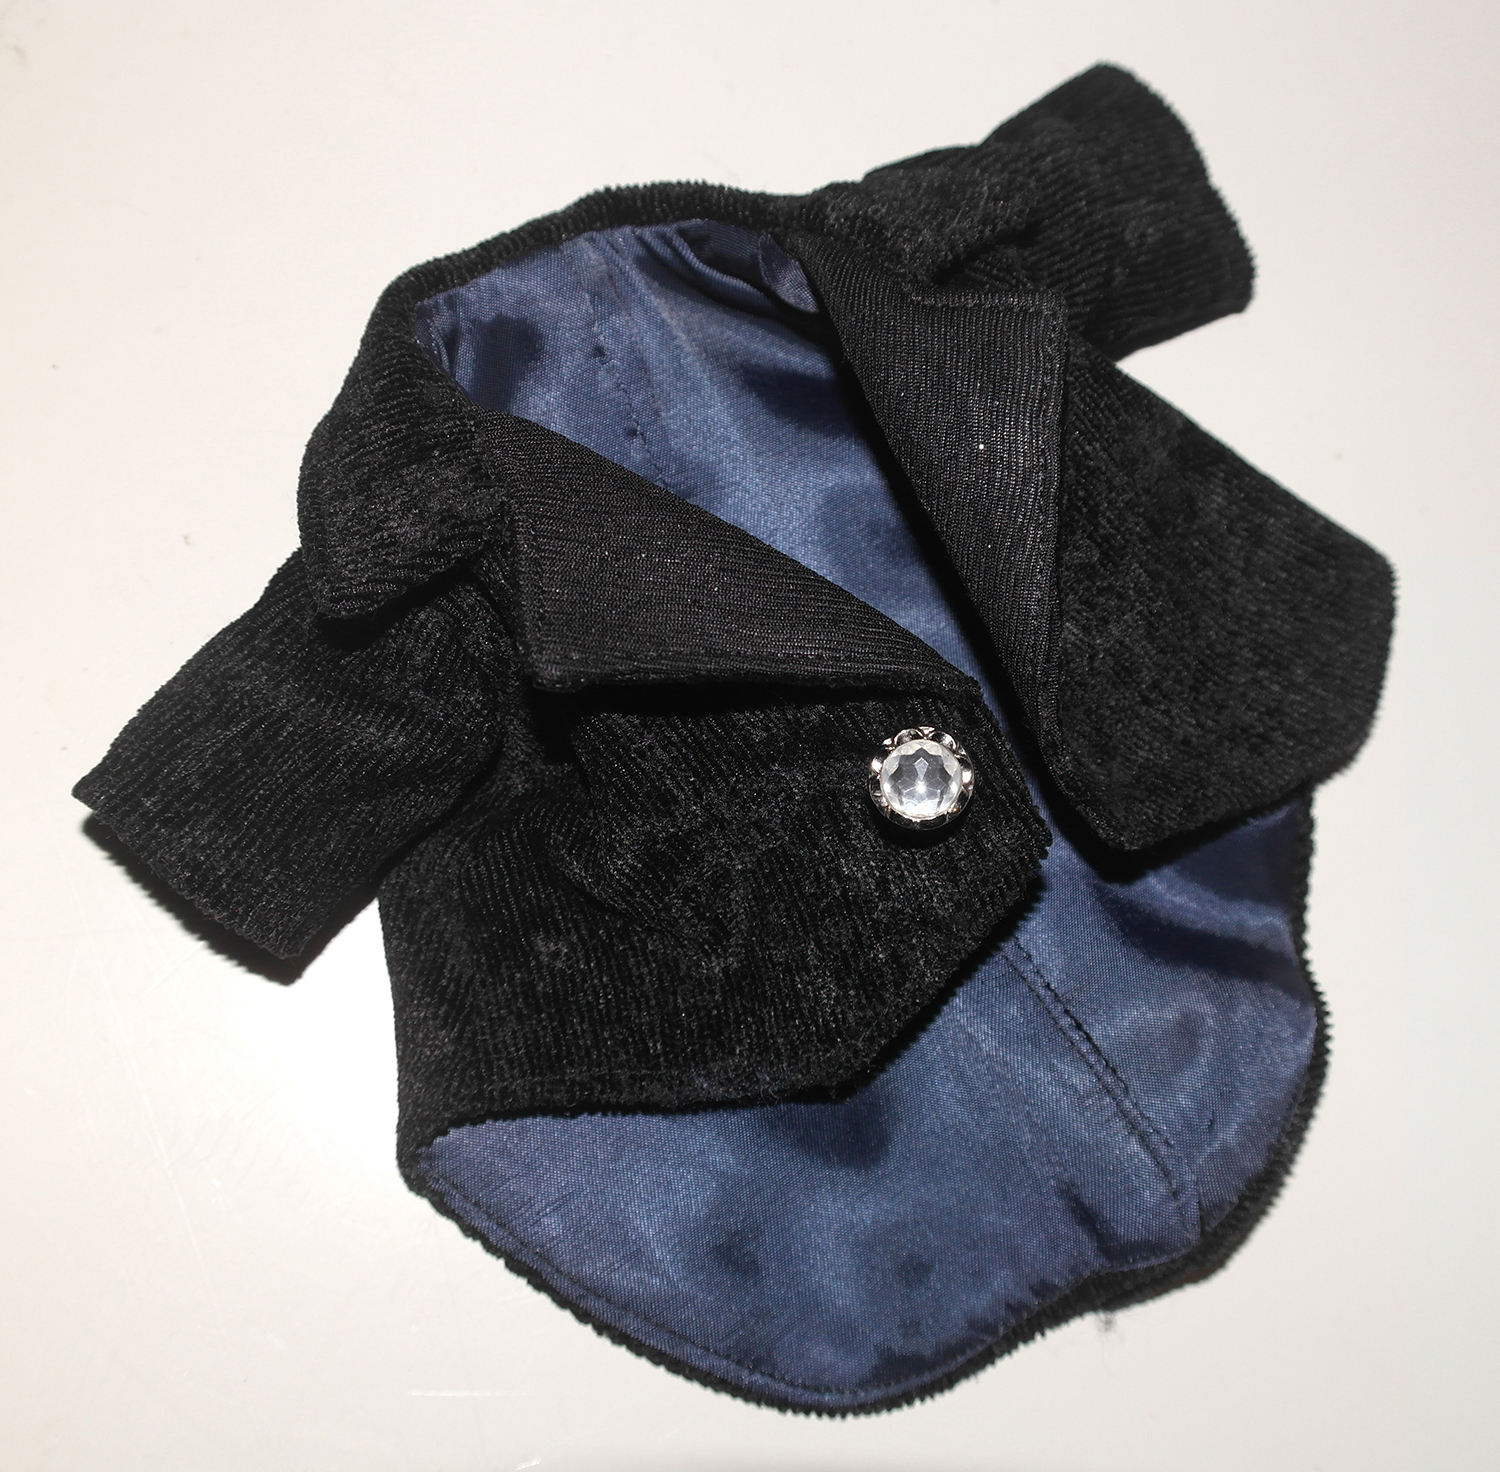
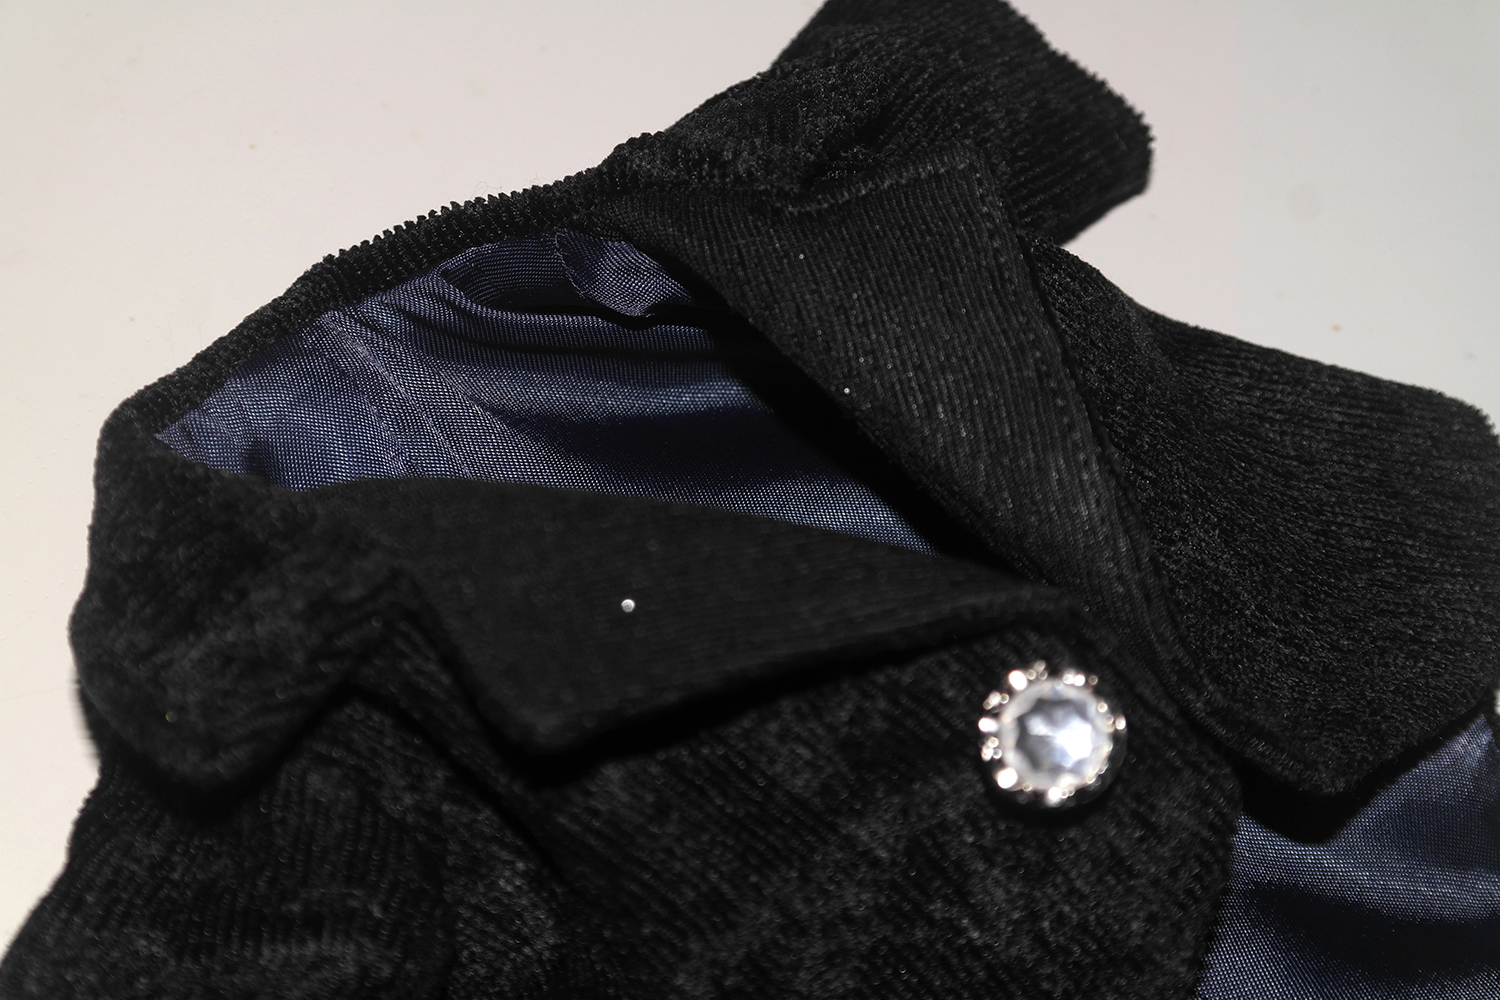
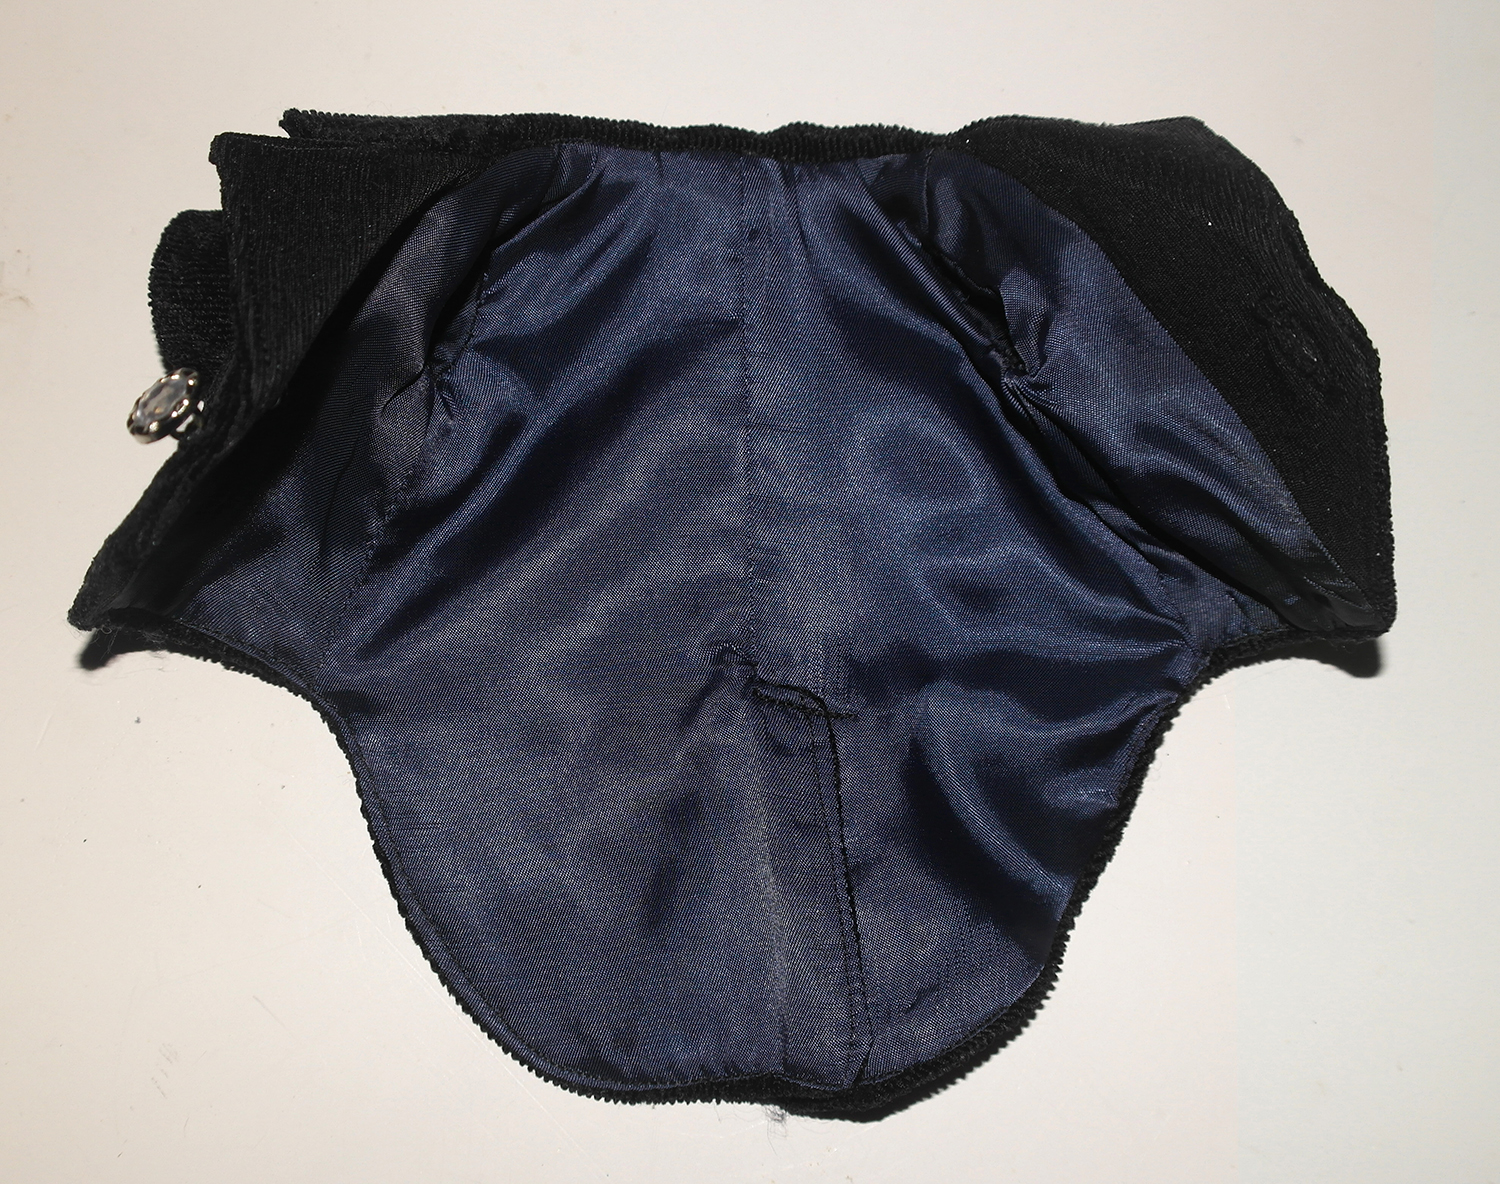
Time to do the clothes. Unfortunately, I completely forgot to take any pictures of the tailcoat assembly process. But the basic procedure is this. Interface the collar and front facing parts, connect all main fabric pieces together. Connect all the lining pieces together. To attach the lining to the main fabric I first connected the collar line and sides with my sewing machine leaving the sleeves and the back split opening. I then turned the lining inside out and stitched the back split with top stitching. The sleeves had to be done by hand with invisible stitching.
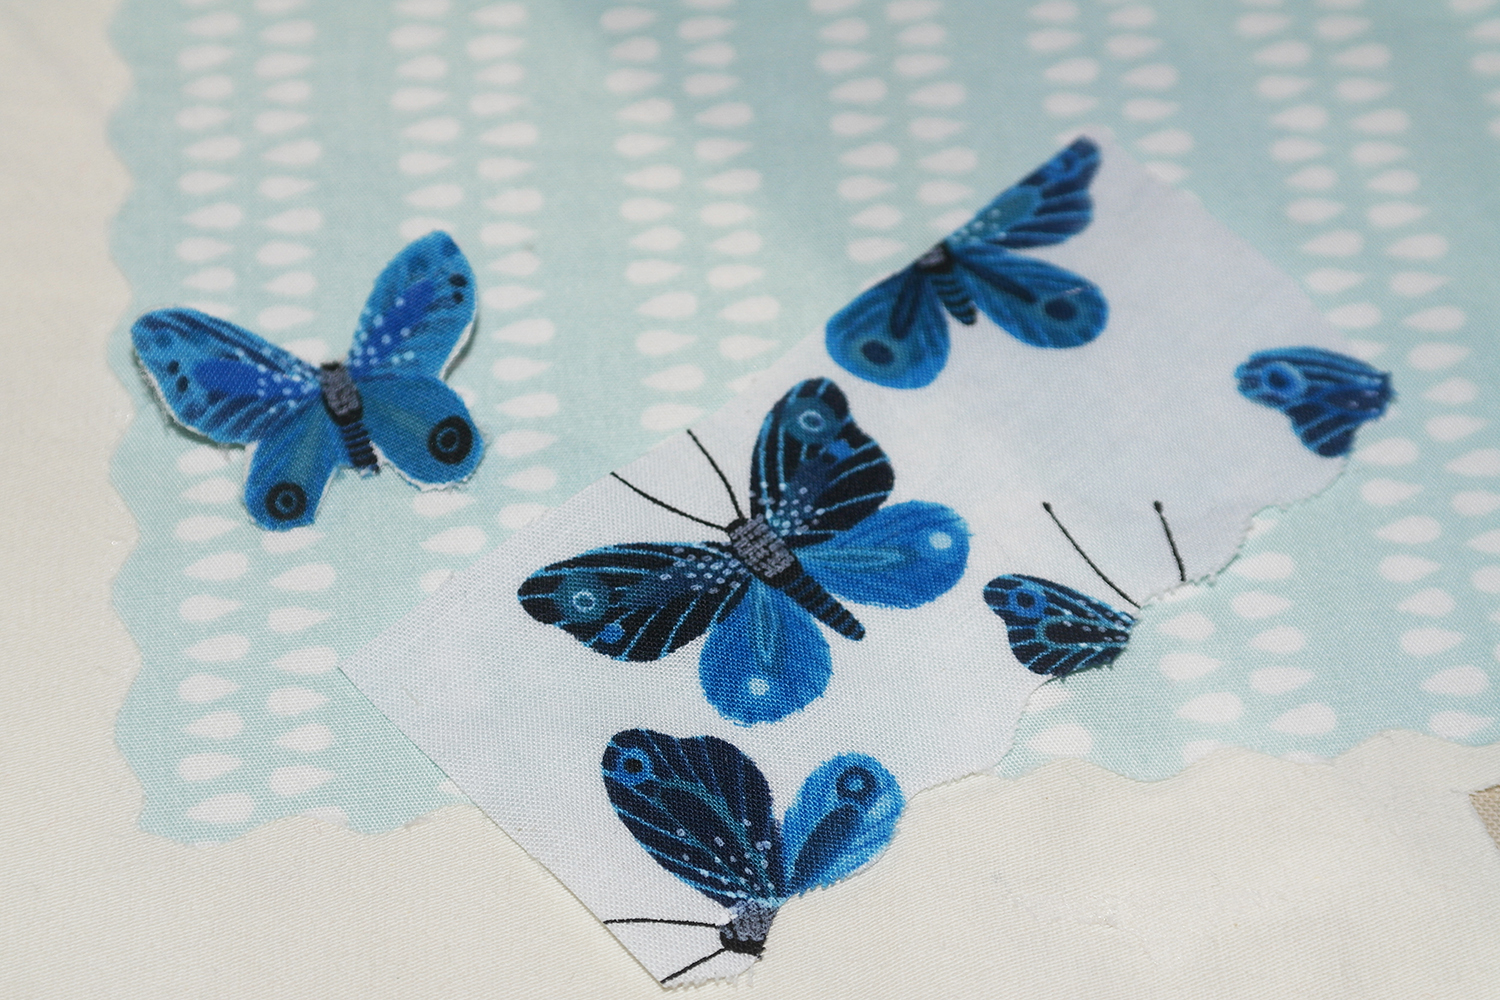
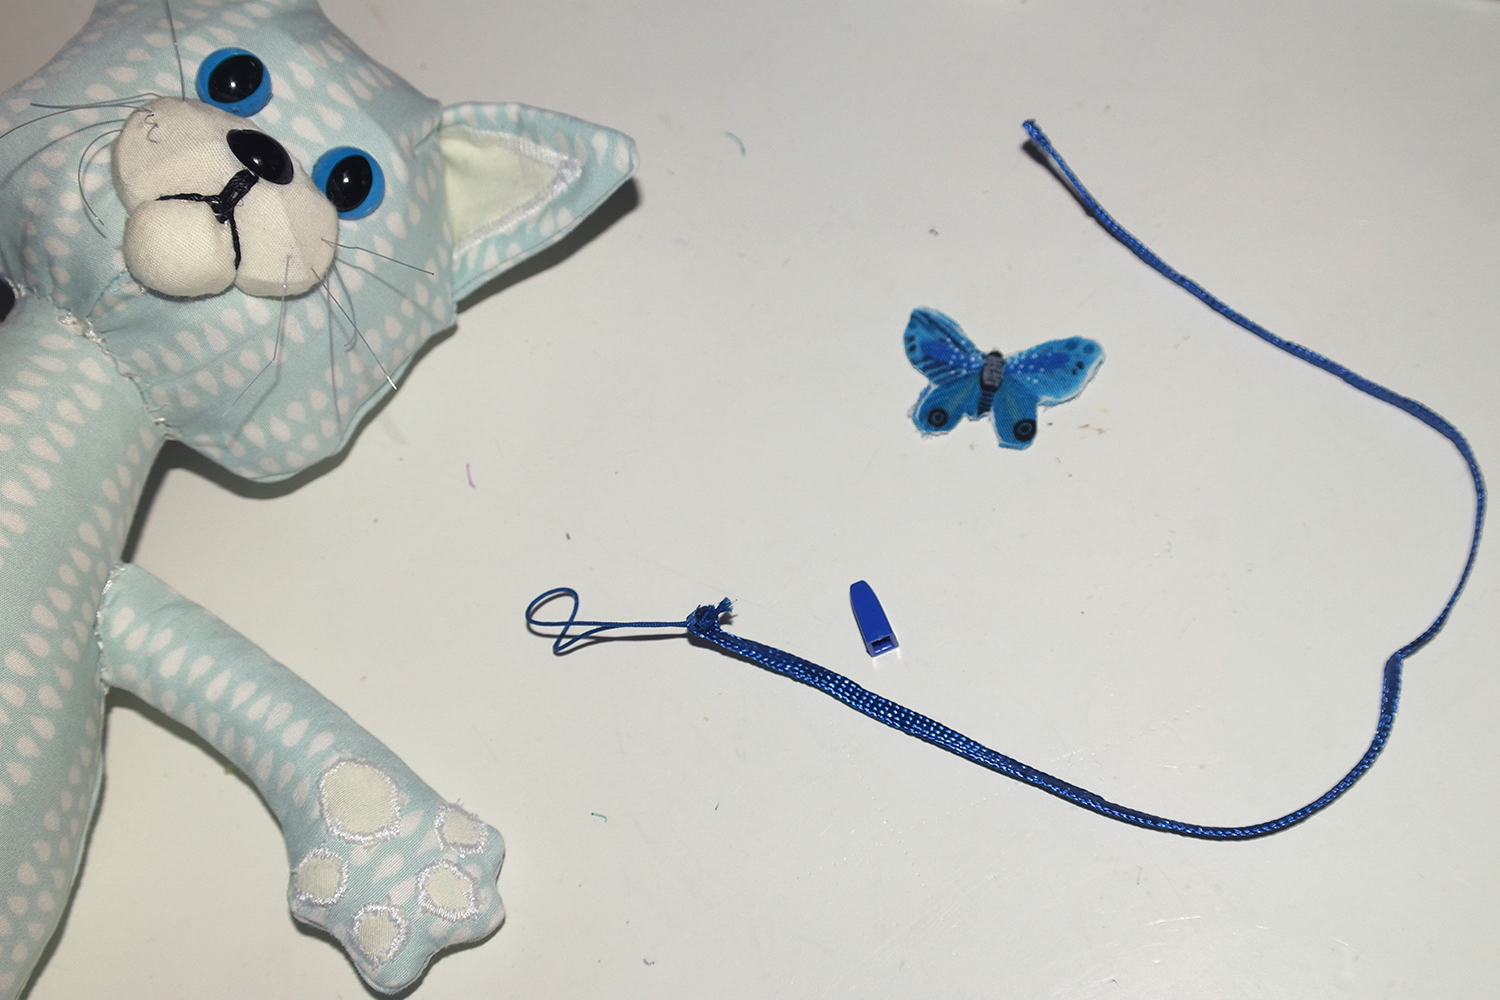
To finish the look I a butterfly for the neck. I cut two identical butterflies from printed fabric and used wonder web to glue them to a layer of thicker fabric. Then I finished the edges with zigzag stitch. If you don’t have any butterfly printed fabric at hand you can simply make a butterfly from any fabric of your choice.
Now you can proudly show your toy to your friends and family. 🙂
You are welcome to post your questions or leave a feedback in comments below!