
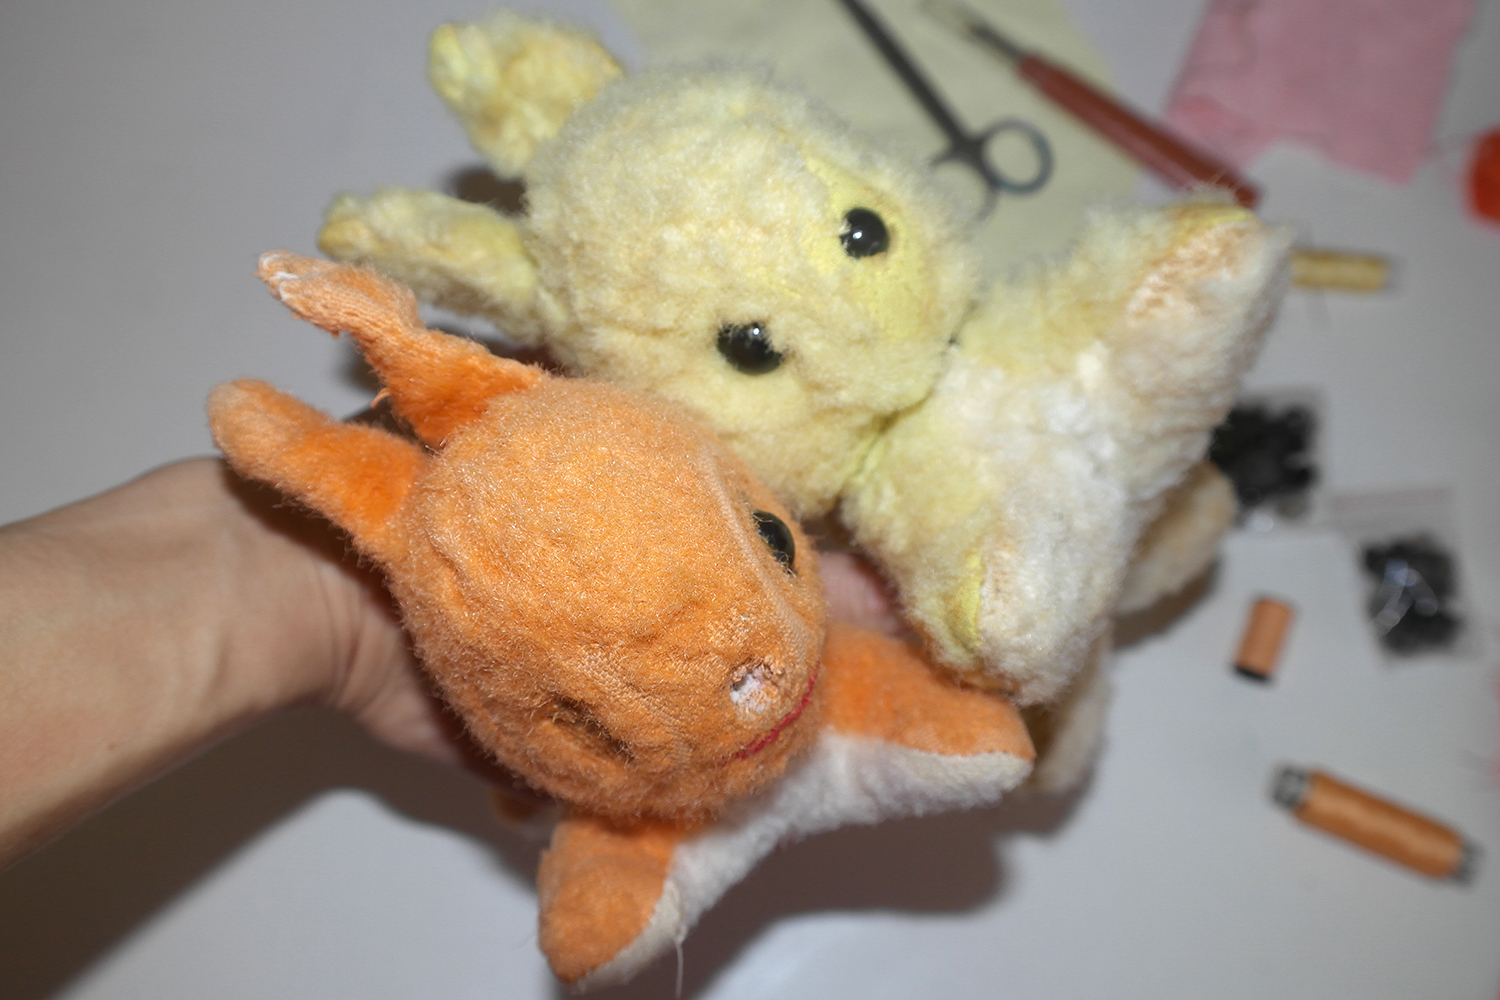
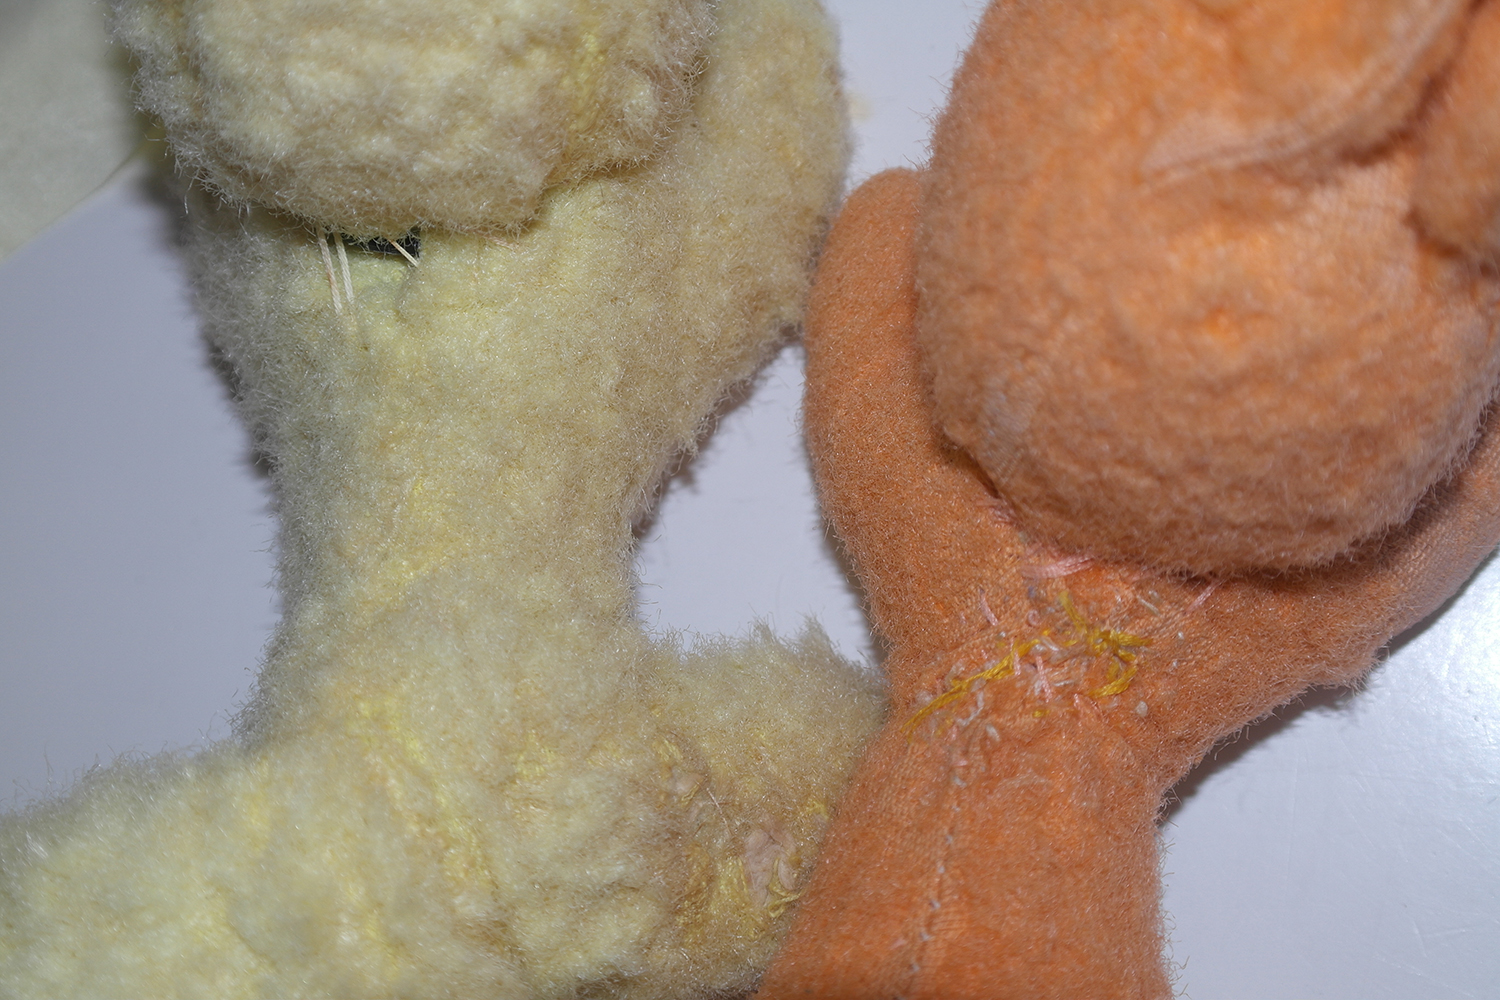
I love bringing back to life old objects, whether they are vintage clothes or vintage toys. Recently I had a great opportunity to restore a pair of two 1960s toy squirrels. By looking at them you could say straight away that they were favourite toys for quite a while – they really needed some love and care to bring back their beauty – eyes and noses missing, fur thinned to holes. Somebody tried to repair them before as I could see some stitches holding the tails and heads together.
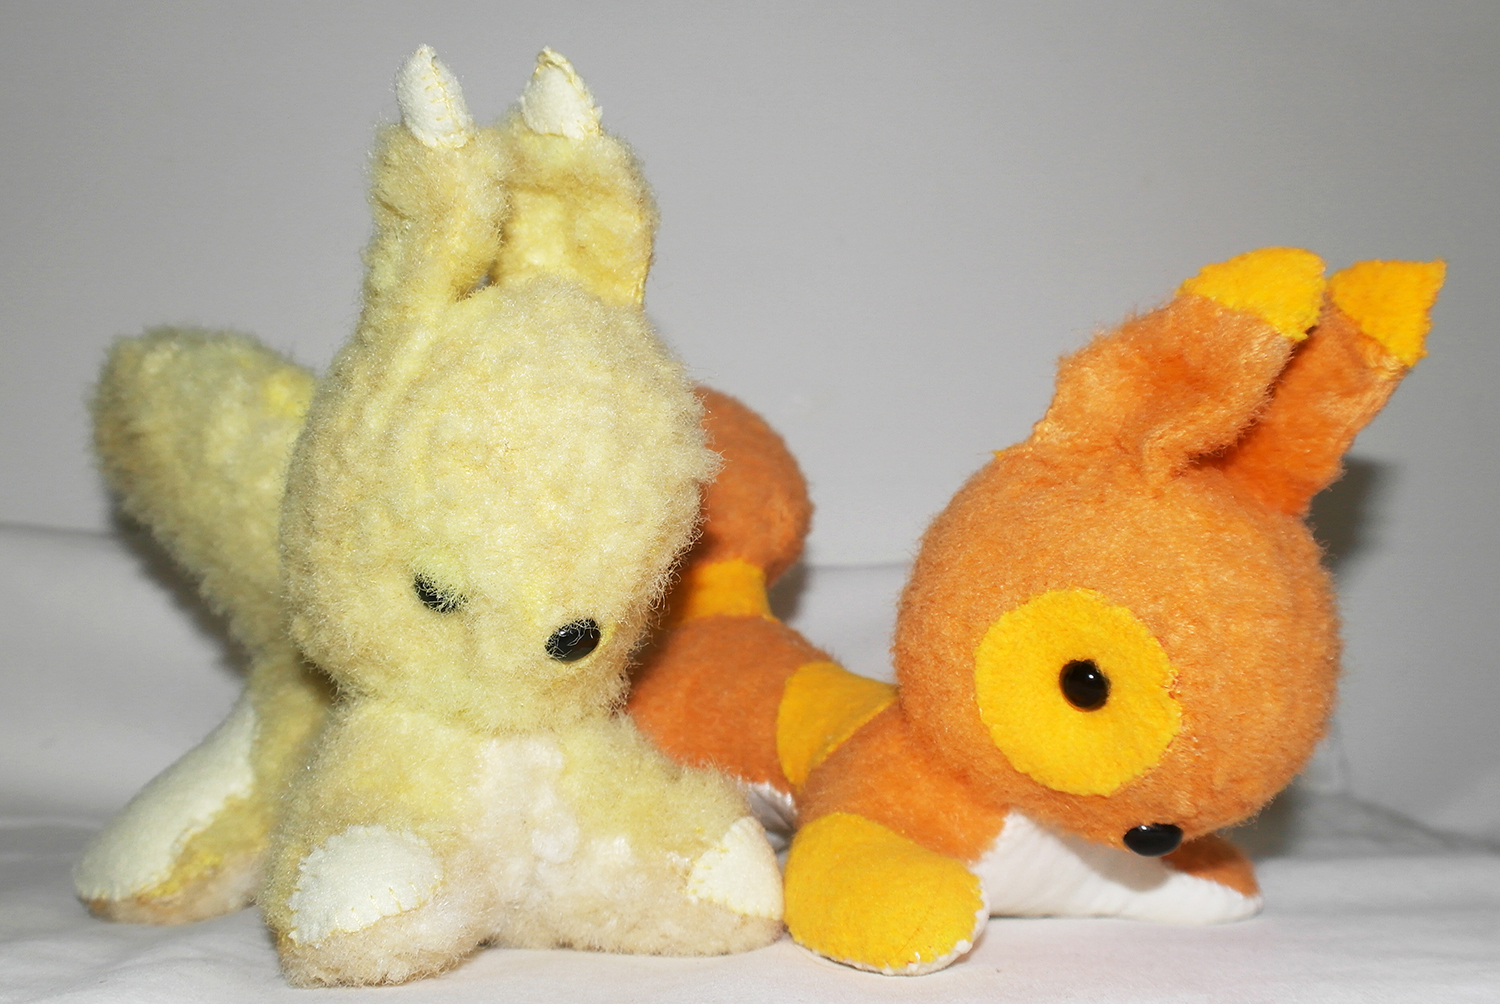
To restore these two cuties I chose some fabric pieces trying to match the colour of the fur as close as I could. I did not have the same or similar fur so I decided to make patches on the thinned fur from a matching fabric. I got very similar eyes and noses to replace the missing ones. It took me about 6 to 8 hours to do all the job, and the squirrels came back to life. 🙂
I needed to repair them in such a way that they still remain usable by a child not to become a shelf collectable piece that no one can play with any more. The owner was very happy with the result. The toys are from her childhood and are now the two favourite things her son likes to sleep with.
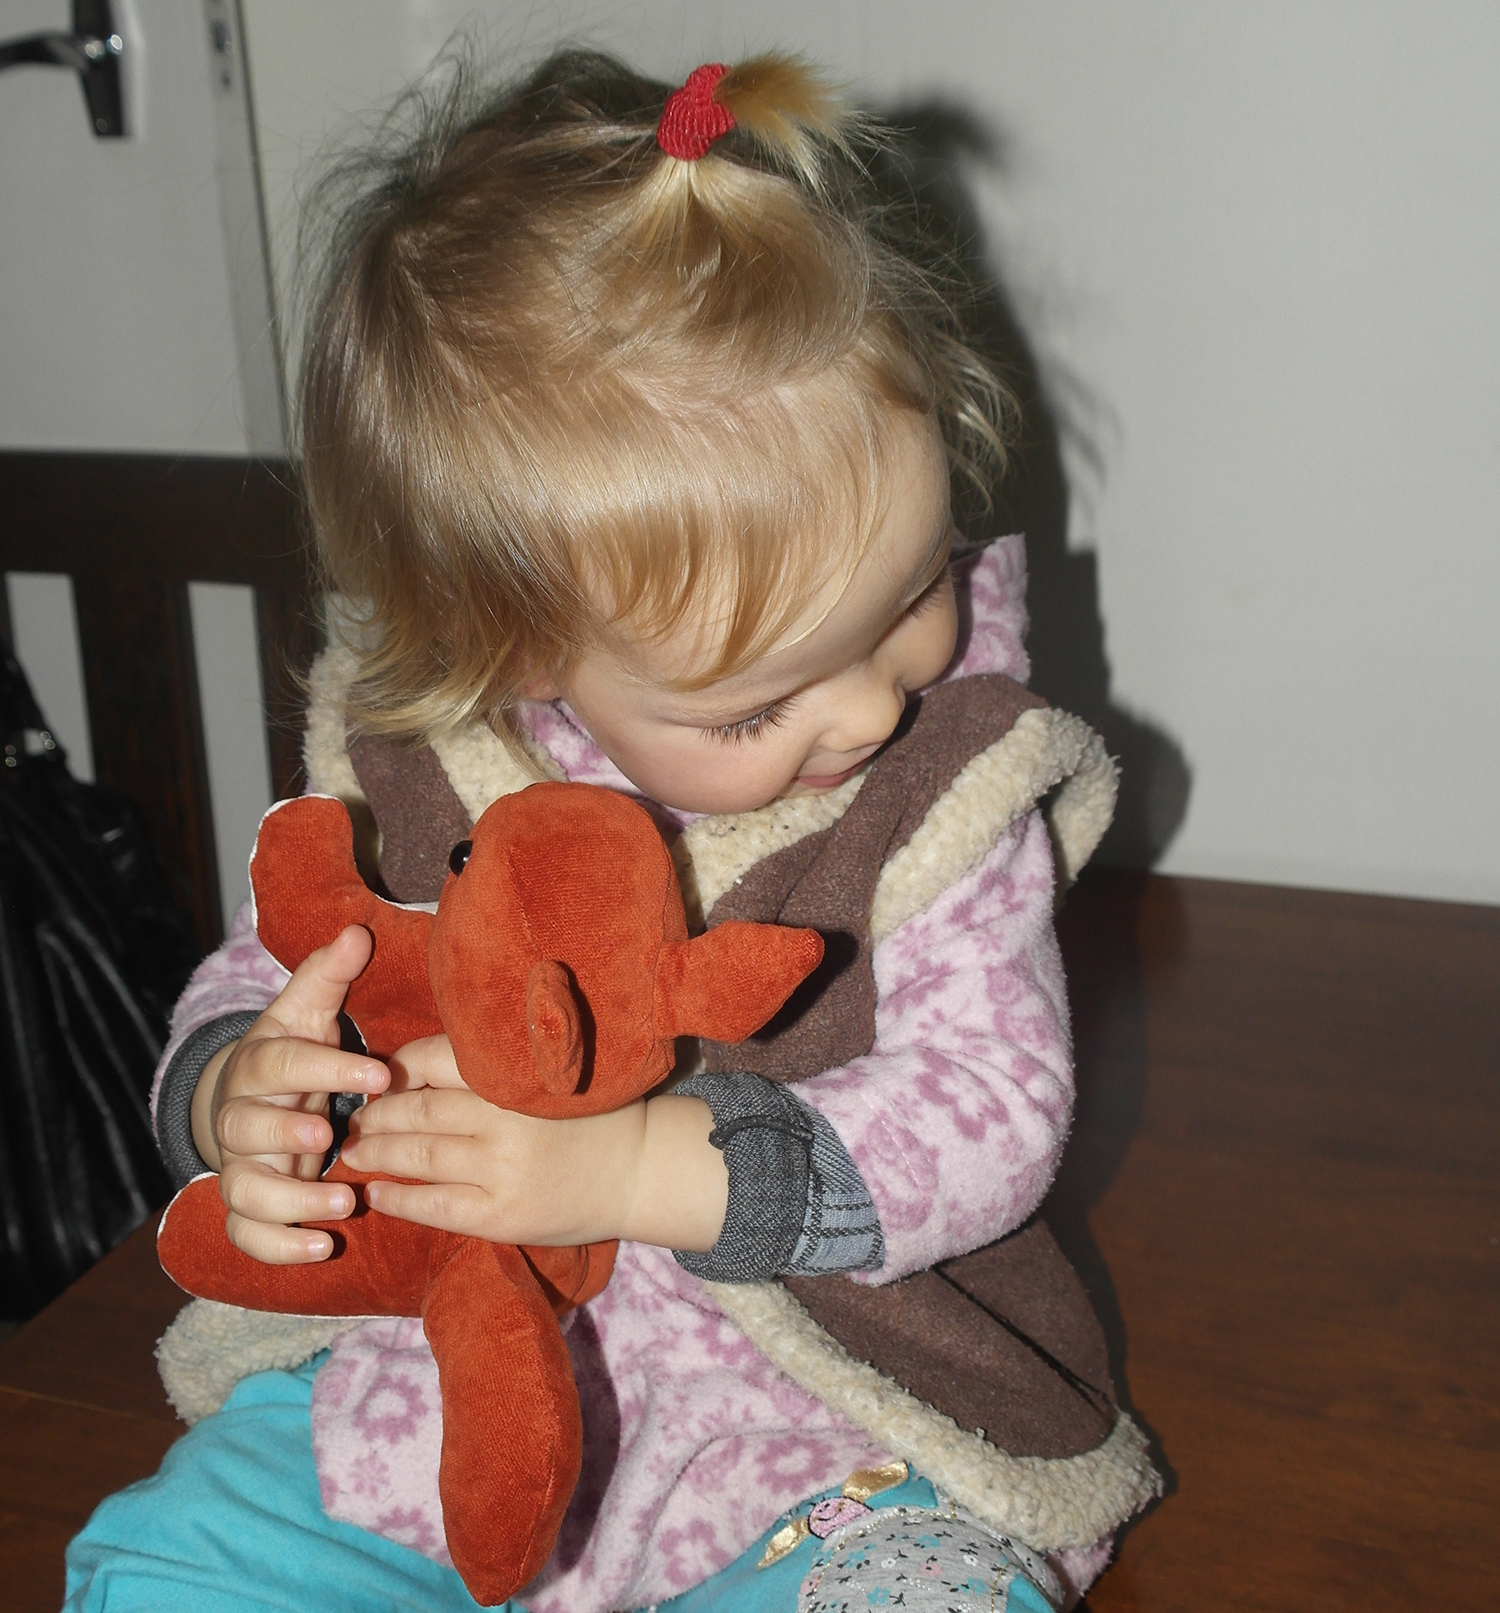
And everything was good but one little thing... My younger daughter fell in love with the toys too! She literally could not let them go, she was hugging them, holding them, patting them, she even fell asleep with them . Twice. I had to hide them in my wardrobe. And I had to come up with a solution to that...

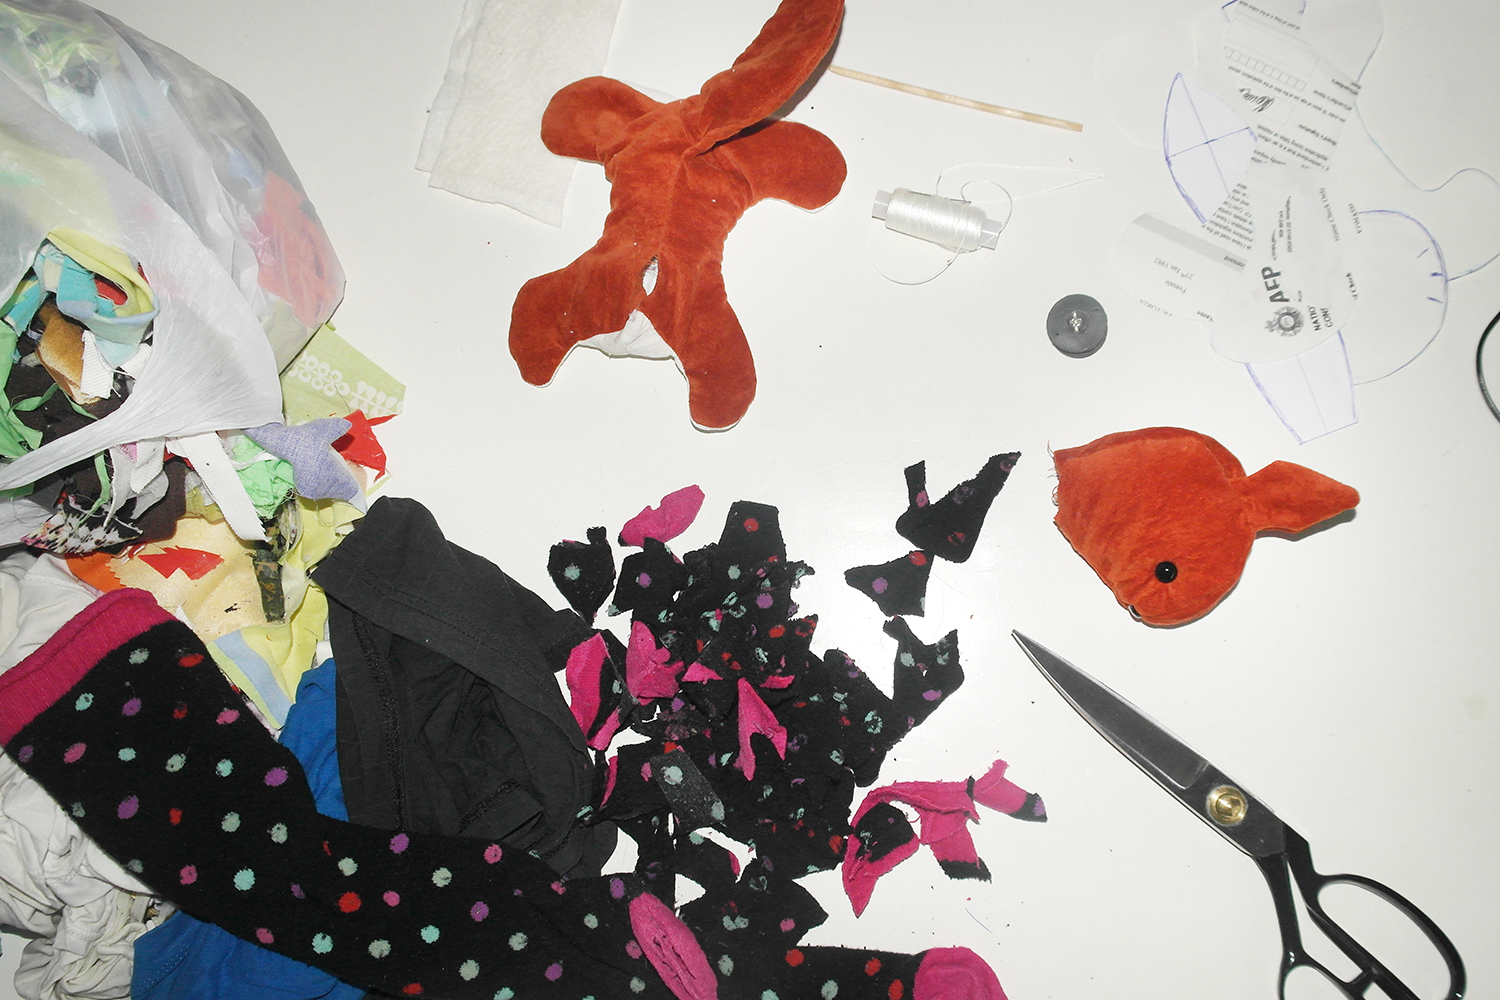
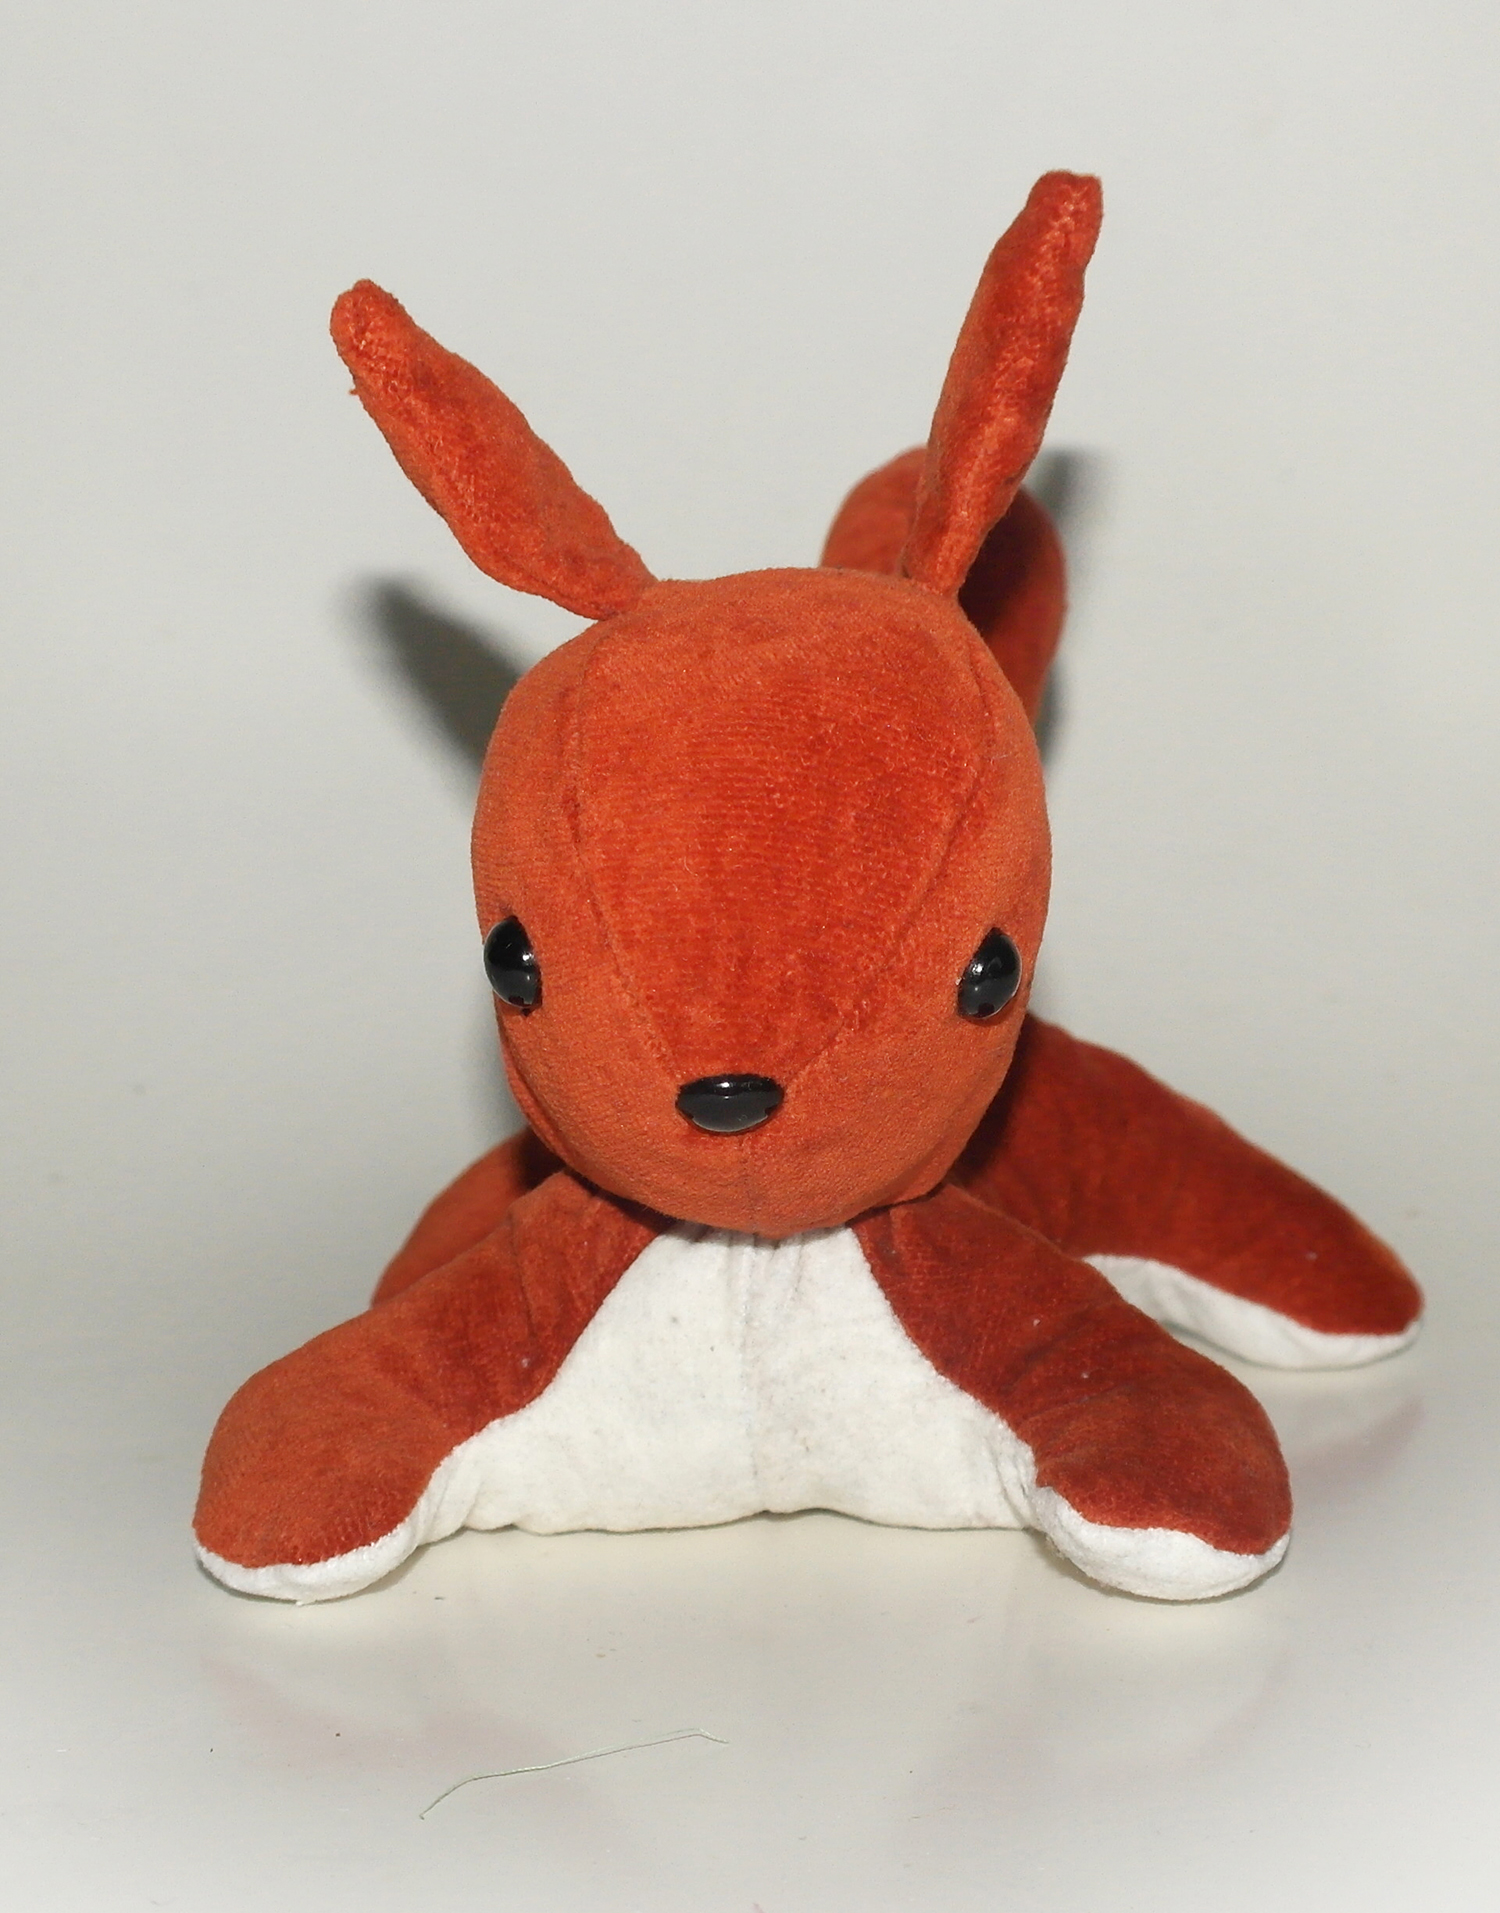
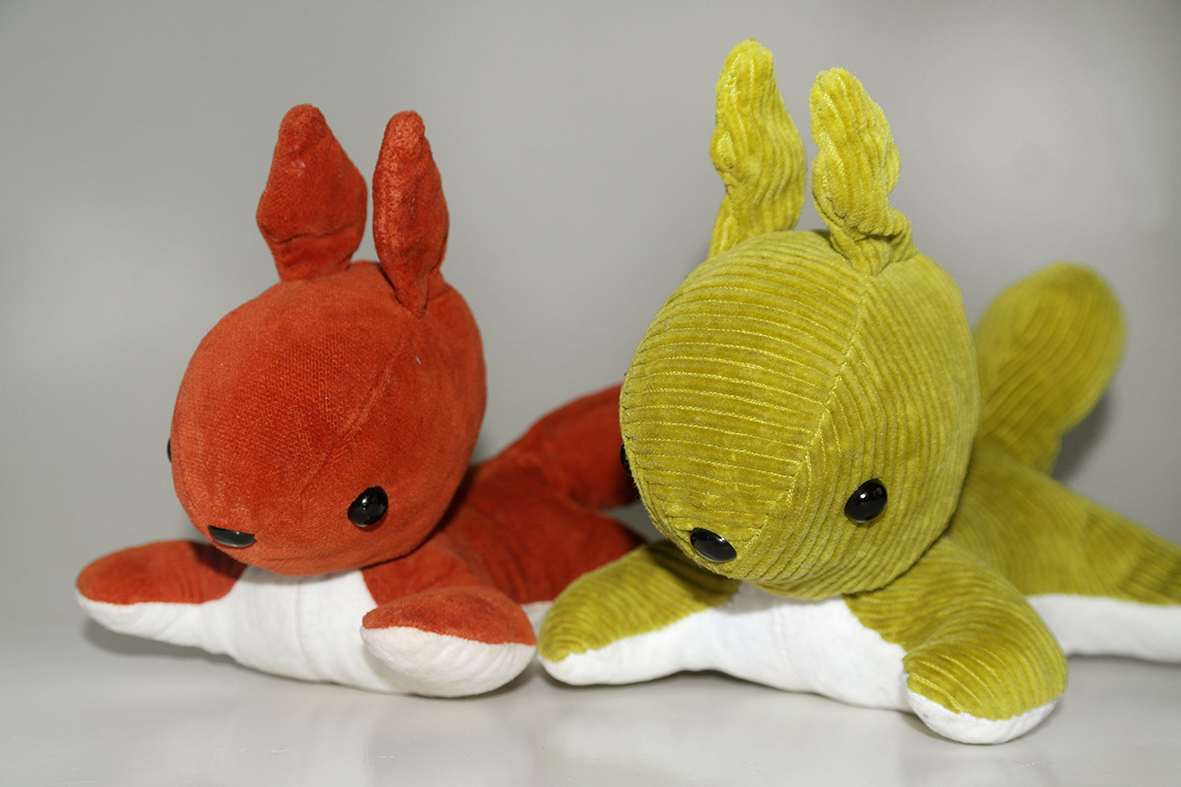
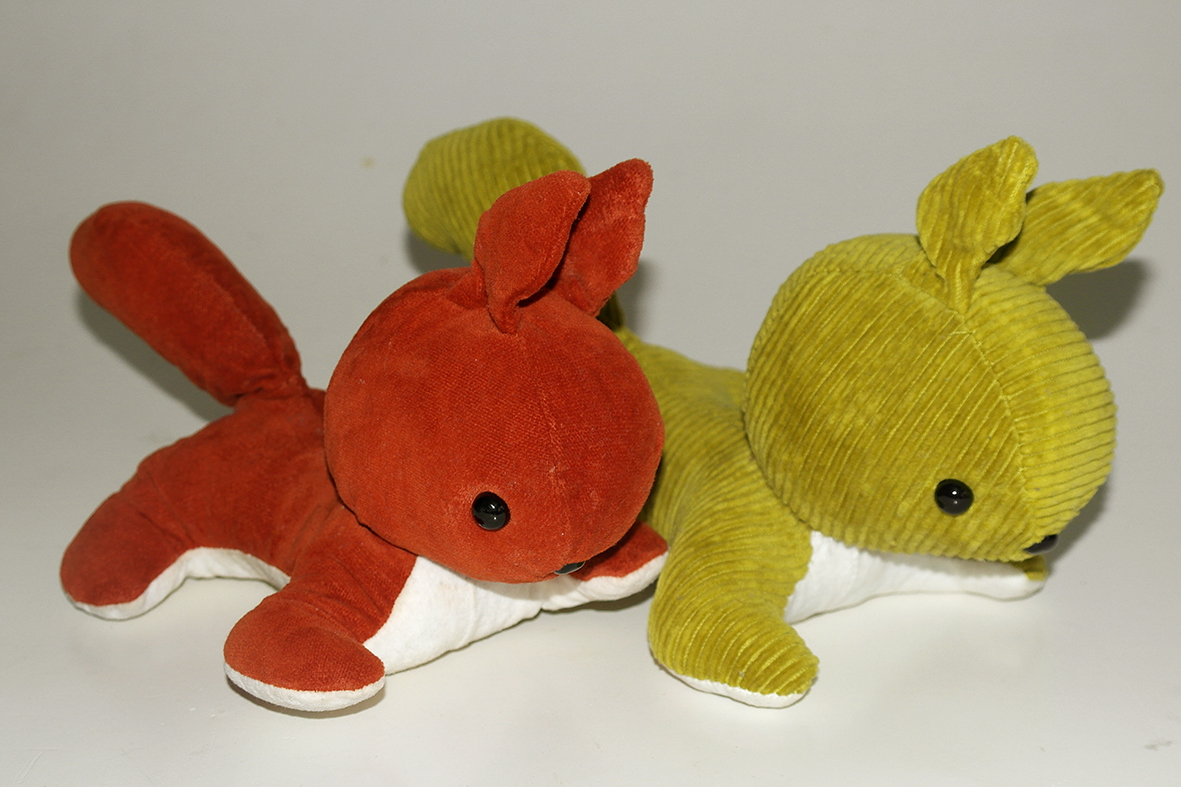
I decided to make a pattern to create a very similar squirrel toy for my daughter. As usual for me, I used recycled fabric offcuts (opshop findings) to cut the pattern and stuffed the toy with my old socks and tees cut into small pieces to fill the squirrel with my loving energy. I think the outcome is quite a success. She loved her new squirrel too. 🙂 And if you like it as much as her, you are welcome to download a FREE PATTERN and recreate one for yourself! 🙂
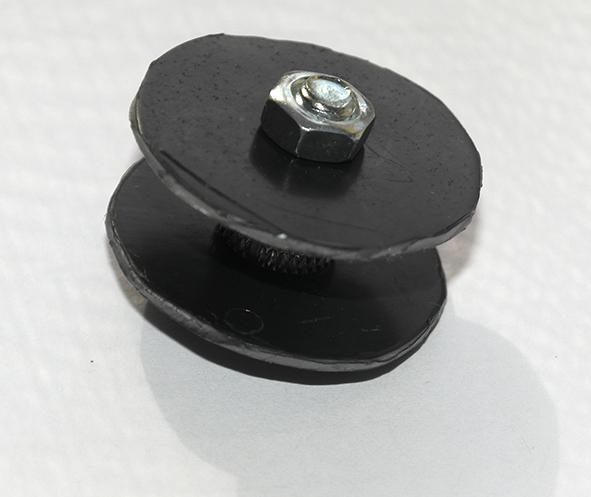
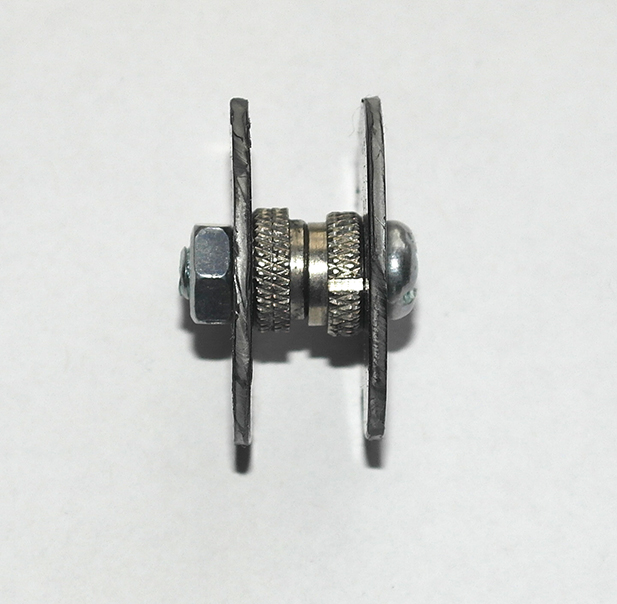
P.S. One little tip for those who are on the way to create this toy: To connect the head to the body in the final step, you would need something like that (picture below) to make the head sit nice and straight. This is something like a little bobbin with circles 3 cm in diameter. The one pictured below my husband made for me from recycled plastic packaging pieces and some spare nuts and bolts. I am sure you can buy something like that ready made, but I chose not to, as I hate buying unnecessary plastic – there are plenty of plastic pieces around to be reused.
To connect the head to the body you simply need to gather the fabric with extra strong thread on the body neck opening around the lower plastic circle and on the head neck opening around the top plastic circle. Gather rather tightly, secure, then go around connecting the body to the head once again to make a strong connection.
UPDATE: (24.09.2017) I had to make the second squirrel for my other daughter! And she wanted particular yellow one! I did not have yellow fabric scraps, so I dyed some bits of grey corduroy with yellow fabric dye... It turned out light green, but she liked it anyway. 🙂 Now we have two squirrels for my two little darlings! 🙂
Those two little squirrels were in our family for generations. When I asked Victoria to restore them I had no hope it was possible. They were too old, too damaged, too battered.
Victoria created a miracle. She brought them back to life. You should have seen my son’s eyes, when they came back “from the hospital “.
Thanks Victoria. You are amazing 😍
Thank you Anna! It was a pleasure to restore such rarity! 🙂